You'll fall in love with this enchanting British dessert that turns fresh summer berries into sparkling jewels of sweetness. The Merry Berry Bramble combines macerated berries, dripping with honey-lemon juice, and sugared fruits that glisten like morning dew. It's a magical transformation that starts with gentle egg white brushing and a delicate sugar coating, creating an irresistible contrast of textures and flavors. Perfect for warm-weather gatherings, this stunning dessert lets you showcase nature's candy in its most dazzling form. The secret to its show-stopping appeal lies in the centuries-old techniques that'll make you feel like a culinary artist.
History
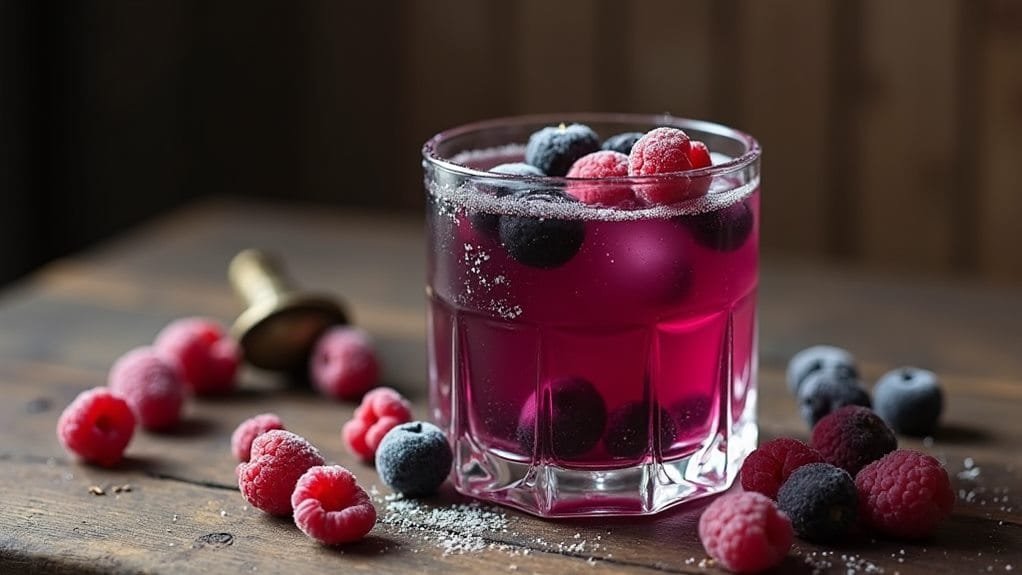
The Merry Berry Bramble dates back to early 19th century Britain, when countryside cooks whipped up simple desserts using wild berries gathered from hedgerows and woodland edges.
You'll love knowing that berry foraging wasn't just a casual hobby back then – it was a cherished summer tradition that brought entire families together, armed with wicker baskets and high spirits!
In those days, you'd find folks scrambling through brambles, their fingers stained purple from plucking juicy blackberries and raspberries.
The dessert traditions that emerged from these foraging adventures were delightfully straightforward – berries mixed with cream, honey, or whatever sweeteners were on hand.
But here's the fun part: some clever cook decided to elevate the humble bramble by coating select berries in sugar, creating what we now know as the Merry Berry Bramble.
It's like they turned ordinary berries into edible jewels! The recipe quickly spread through village gatherings and county fairs, where proud cooks would compete to create the most spectacular sugared fruit displays.
You can bet there were some pretty heated debates about whose berry bramble reigned supreme!
Recipe
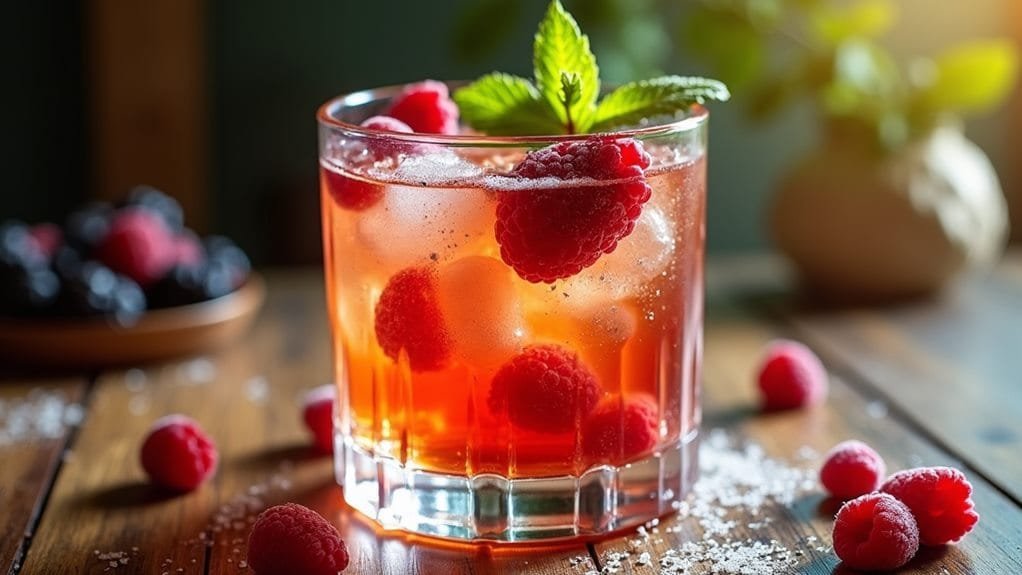
The Merry Berry Bramble is a stunning dessert that transforms fresh summer berries into an elegant arrangement of both sugared and fresh fruits. The combination of crystallized and natural berries creates a delightful contrast in textures while maintaining the pure, bright flavors of the season.
This recipe balances the natural tartness of mixed berries with a delicate sugar coating that adds both visual appeal and a subtle crunch. The macerated berries provide a juicy base that complements their sugared counterparts, making this dessert both invigorating and sophisticated.
- 2 cups fresh blackberries
- 1 cup fresh raspberries
- 1 cup fresh blueberries
- 1 cup superfine sugar
- 1 large egg white
- 2 tablespoons honey
- 1/4 cup fresh lemon juice
- Parchment paper
- Small pastry brush
Start by washing all berries gently and patting them completely dry with paper towels. Divide berries into two portions – one for sugaring and one for macerating. Whisk egg white until frothy, then carefully brush individual berries with the egg white and roll in superfine sugar. Place sugared berries on parchment-lined baking sheet and let dry for 2 hours at room temperature.
Meanwhile, combine remaining berries with honey and lemon juice in a bowl, allowing them to macerate for 30 minutes. When ready to serve, arrange macerated berries on plates and top with sugared fruits.
For ideal results, select berries that are firm and fully ripe but not overly soft. The berries should be completely dry before applying the egg white wash, as any moisture will prevent the sugar from adhering properly. Work with small batches of berries at a time to prevent the egg white from becoming too warm and losing its consistency.
The success of this dish heavily depends on the environment in which it's prepared. Humidity can greatly affect the drying process of the sugared fruits. If possible, prepare this dessert on a dry day or in a climate-controlled kitchen.
The sugared berries are best used within 24 hours, as they'll begin to weep and lose their crystalline coating if stored for longer periods.
Cooking Steps
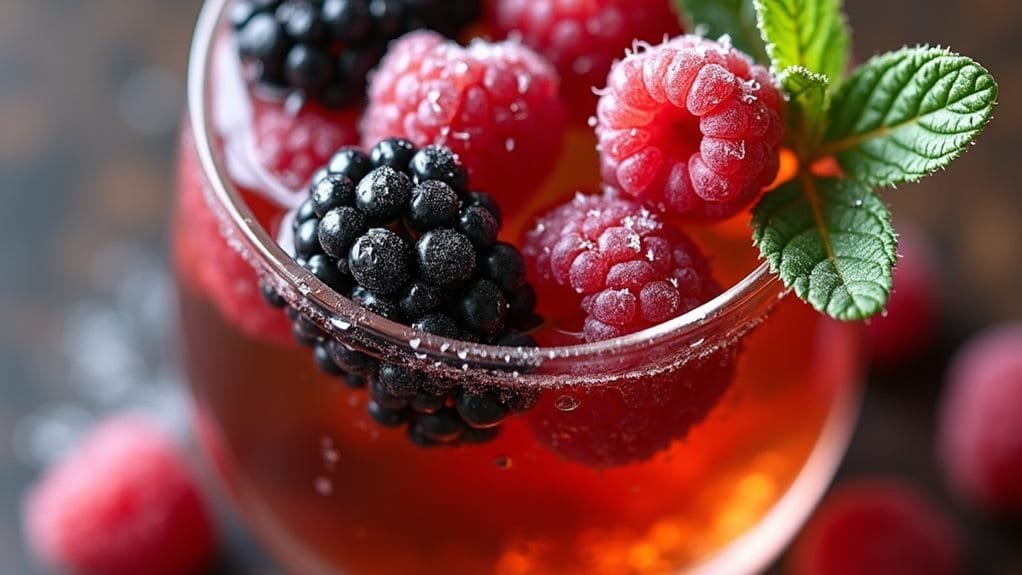
Let's jump right into crafting your berry masterpiece, starting with a thorough wash and gentle pat-dry of those plump, jewel-toned berries.
You'll transform these humble fruits into glistening treasures by coating them with frothy egg white and rolling them in sugar, creating a sparkly coating that'll make your dessert look like it's dusted with morning frost.
While your sugared berries are drying into their crystalline perfection, you'll let the remaining berries take a luxurious bath in honey and lemon juice before arranging everything into a show-stopping display that'll have your guests swooning.
Step 1. Wash and Dry Berries
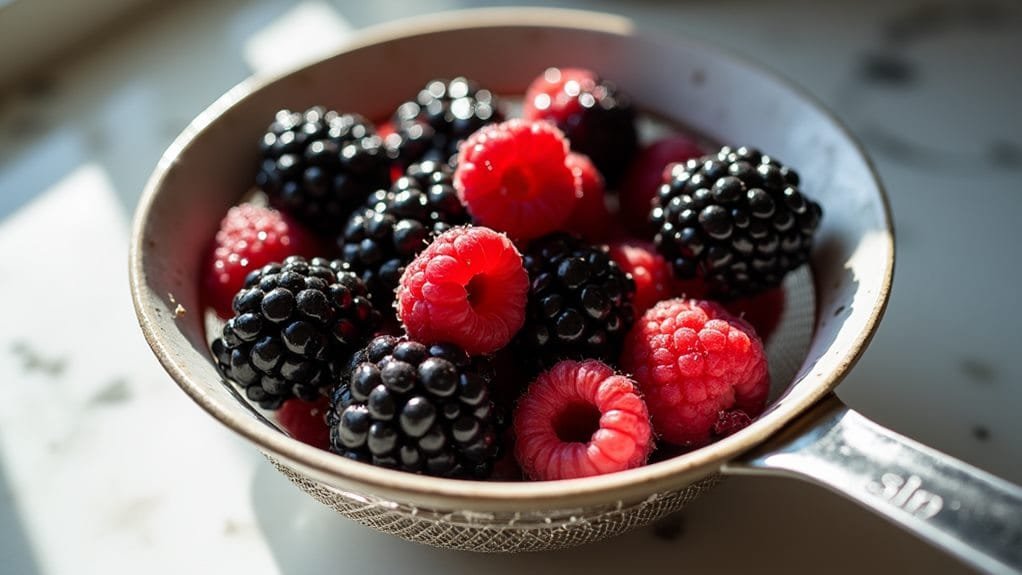
Start by gently washing all berries under cool running water in a colander, being careful not to bruise or break the delicate fruit. When it comes to berry varieties – those plump blackberries, vibrant raspberries, and round little blueberries – each one needs special attention during the washing techniques you'll employ.
Trust me, you don't want any hidden surprises hiding in those tiny nooks and crannies!
Now comes the essential part – drying those precious gems until they're as moisture-free as a desert at high noon. Spread your clean paper towels out like you're preparing a cozy bed for your berries, then gently roll them around to remove every last drop of water.
You'll want to treat them like tiny water balloons that could burst at any moment! Here's a pro tip that'll make you feel like a berry genius: use multiple layers of paper towels and change them out if they become too damp.
Step 2. Coat Berries With Egg White
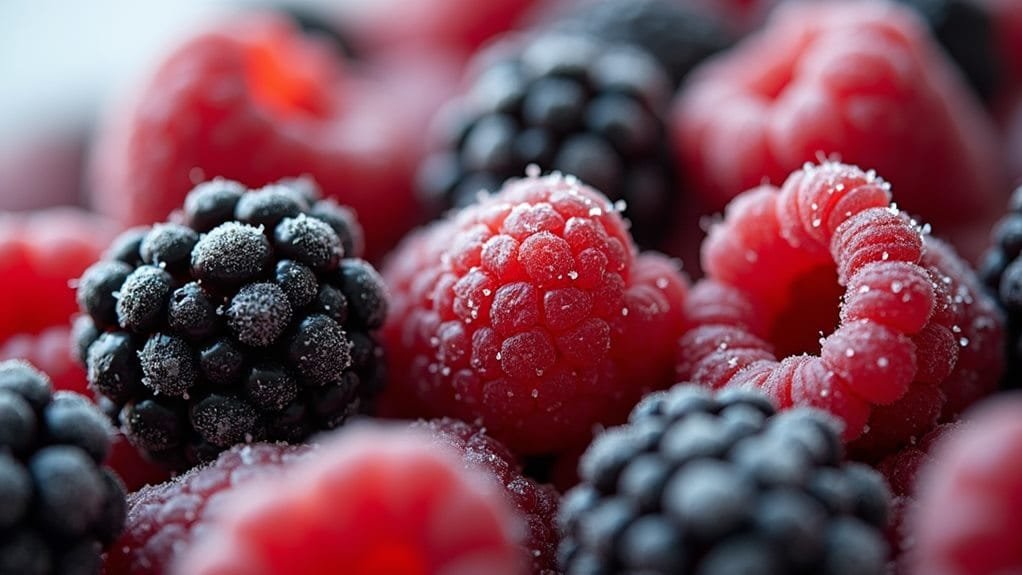
With those perfectly dried berries ready for their glamorous transformation, it's time to prepare the egg white coating. You'll love how the egg white benefits go beyond just being nature's perfect adhesive – it creates a pristine base that'll make your berries sparkle like morning dew on a garden!
Grab your mixing bowl and separate one large egg white (save that yolk for tomorrow's breakfast!). Whisk it vigorously until you see soft, frothy peaks forming – think gentle clouds on a summer day. If you're looking for sugar alternatives, monk fruit sweetener works wonderfully, but traditional superfine sugar gives you that classic crystalline shimmer we're after.
Now comes the fun part! Using a small pastry brush (or if you're feeling fancy, a new, clean watercolor brush), gently paint each berry with a thin layer of the whisked egg white.
Don't go overboard – you want a light kiss of coating, not a heavy blanket! Work in small batches to keep the egg white fresh and prevent it from becoming too warm or separated. Trust me, your patience here will pay off spectacularly!
Step 3. Roll Berries in Sugar
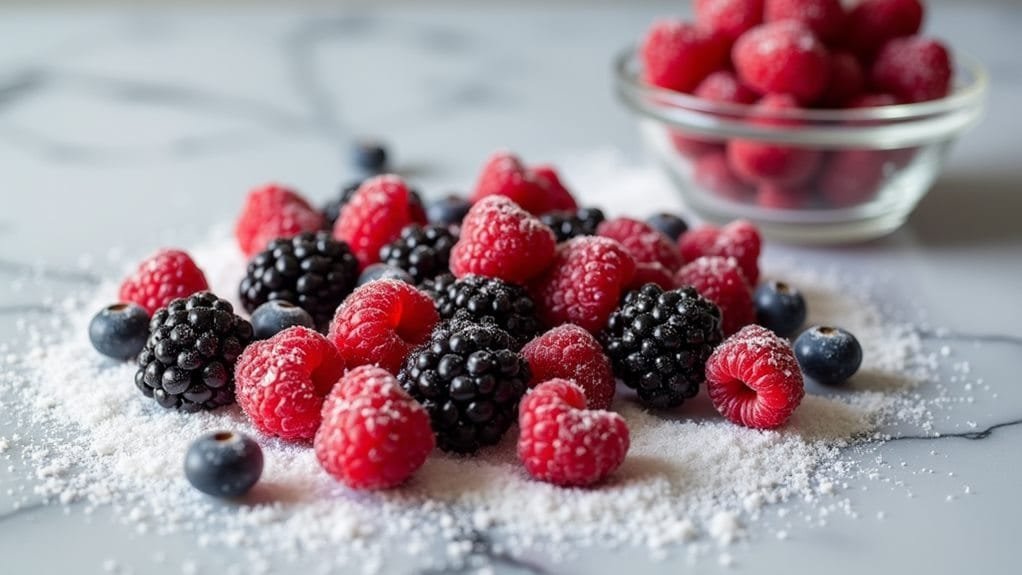
Once your berries have their delicate egg white coating, roll them immediately in superfine sugar before the coating has a chance to dry. You'll want to work quickly but gently, treating each berry like a tiny, precious jewel that's about to get its sparkly winter coat!
For the best results, stick with superfine sugar – it's your MVP here. Regular granulated sugar is just too coarse, and powdered sugar will turn into a paste (trust me, you don't want that mess!).
Start with your larger berries like blackberries and strawberries, then move on to the more delicate raspberries and blueberries. Here's a pro tip: keep your sugar in a shallow dish and roll just a few berries at a time. If you dump them all in at once, they'll stick together faster than teenagers at a school dance!
As you roll each berry, make sure it's completely covered in sugar – think of it as giving each fruit a tiny crystal sweater.
Once they're coated, carefully transfer them to your parchment-lined baking sheet, leaving space between each berry so they don't become sugar-coated conjoined twins.
Step 4. Let Berries Macerate
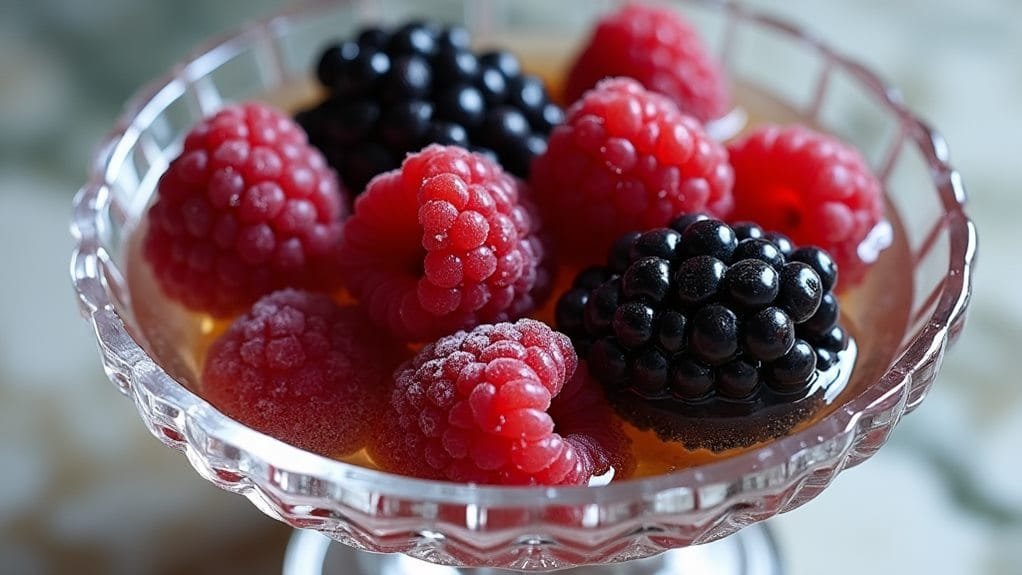
During the drying time for your sugared berries, you'll want to prepare the remaining fresh fruit through maceration. This magical process will transform your berries into flavor bombs that'll make your taste buds dance with joy! Simply toss your fresh berries with honey and lemon juice, then let them sit back and relax for 30 minutes while they release their natural juices.
You'll be amazed at how maceration benefits your dessert in multiple ways. First, it intensifies those incredible berry flavors, creating a sweet-tart symphony that'll knock your socks off. The honey acts like a charm, drawing out the berries' natural sweetness, while the lemon juice brightens everything up like a spotlight on a stage.
As the berries sit, they'll create their own delicious juice – think of it as nature's homemade berry sauce!
Don't skip this step, even if you're tempted to rush things along. The maceration process is like sending your berries to a flavor spa, where they'll emerge transformed and ready to perfectly complement their sugared cousins on the plate.
Step 5. Arrange Fruits on Plates
Now that your berries have enjoyed their maceration time, let's turn our attention to plating this beautiful dessert. Think of your plate as a blank canvas where you'll create an edible masterpiece that's sure to make everyone's eyes pop!
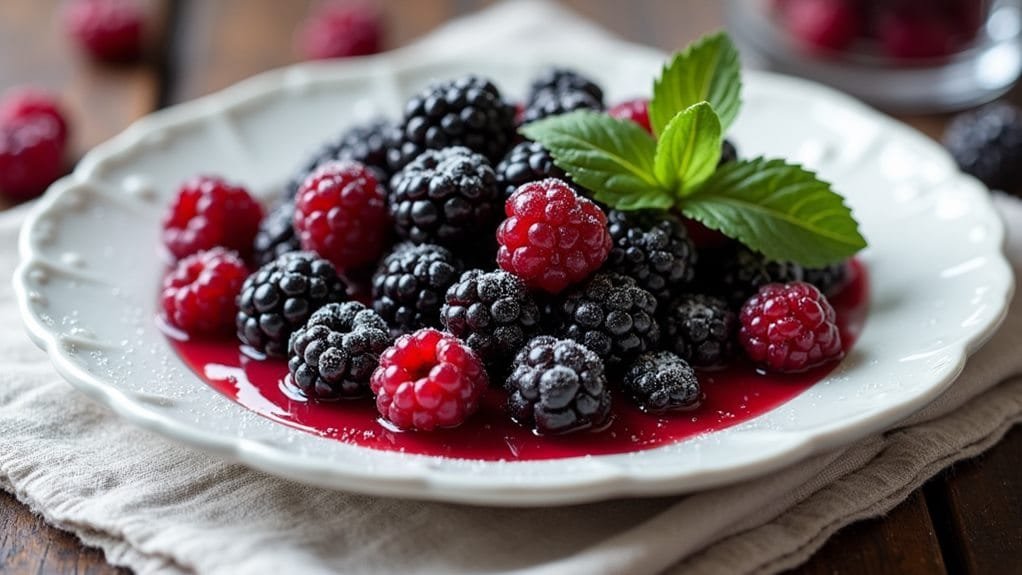
Start by selecting wide, white plates that'll make your colorful berries stand out like jewels in a crown. Place a generous spoonful of the macerated berries in the center, letting their natural juices create an artistic pool that'll make your fruit presentation absolutely stunning.
Next, artfully arrange your sugared berries around the plate in a spiral pattern – think of it as creating your own berry constellation! For the perfect plate design, alternate between different types of berries, mixing the sparkling sugared ones with their glossy, macerated cousins.
Don't forget to add height to your creation – stack a few berries here and there, letting them tumble naturally like nature's own sculpture.
Step 6. Store in Cool Location
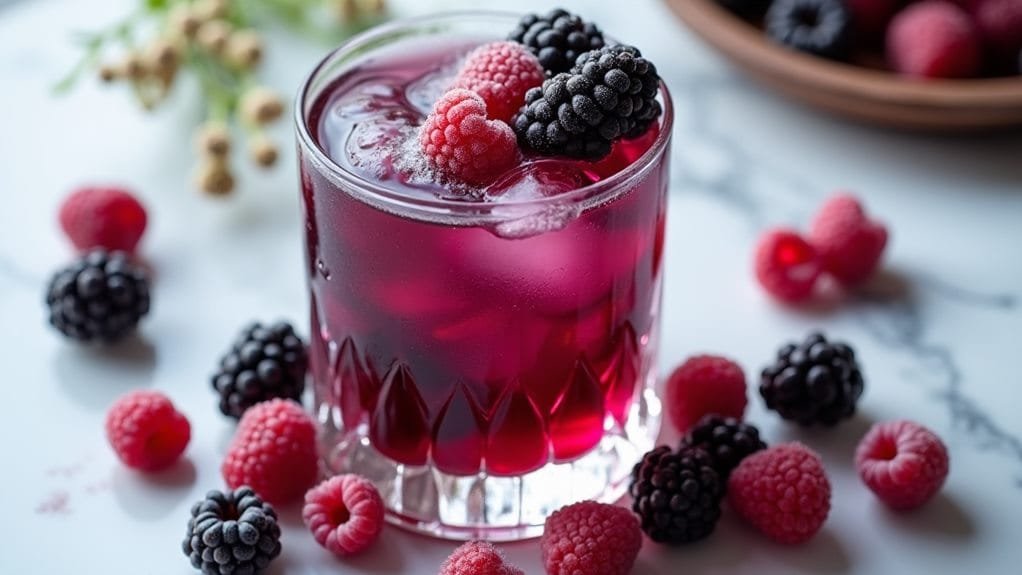
Proper storage plays an essential role in preserving your Merry Berry Bramble's delicate textures and visual appeal. Think of your dessert as a prima ballerina – it needs the ideal environment to perform at its best!
For optimal cool storage, you'll want to place your finished bramble in the refrigerator, but don't just shove it in there like last week's leftovers.
For freshness maintenance that'll make your berries sing, place the dessert on a flat plate and cover it loosely with plastic wrap – you don't want to squish those beautiful sugared crystals you've worked so hard to create!
Keep the temperature between 35-40°F, and whatever you do, don't stick it next to that strong-smelling garlic bread (berries love to play copycat with nearby flavors).
You've got about 24 hours before those sparkly sugar crystals start doing their disappearing act, so it's best to serve your creation the same day you make it.
If you absolutely must store it overnight, place a paper towel in the container to absorb any excess moisture – it's like giving your berries a cozy, moisture-wicking blanket!
Wrapping Up
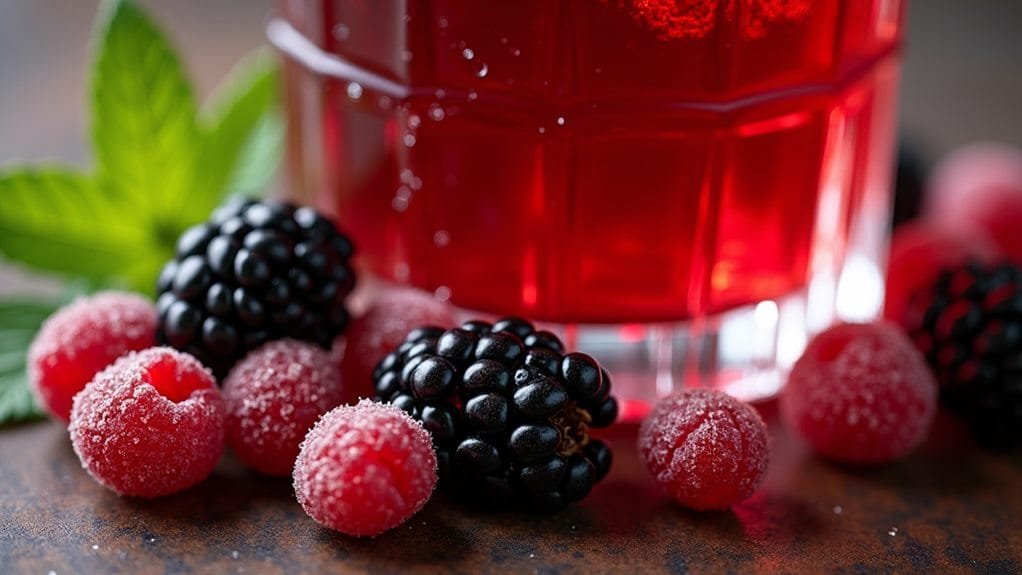
This delightful dessert's success hinges on selecting peak-season berries and allowing adequate drying time for the sugared fruits.
When you're combining berry varieties, remember that each type brings its own personality to the party – blackberries add drama, raspberries bring tang, and blueberries offer that perfect pop of sweetness.
Your dessert presentation will truly shine when you arrange these jewel-toned fruits in a casual cascade across the plate, letting their natural beauty take center stage.
You'll know you've nailed it when your sugared fruits sparkle like morning frost on a garden, and the macerated berries beneath create a gorgeous, glossy pool of purple-red nectar.
Don't worry if your first attempt isn't picture-perfect – even slightly imperfect sugared berries have their own rustic charm!
Remember, this dessert is meant to be a celebration of summer's bounty, not a stress-inducing challenge.
Once you've mastered the basic technique, you'll find yourself wanting to sugar everything in sight (though we recommend sticking to berries for now!).
Now go forth and create your berry masterpiece!

