You’ve likely encountered falafel before, but have you tried making these savory chickpea fritters at home? Paired with a spicy harissa yogurt sauce and fresh mint, this dish offers a tantalizing blend of flavors and textures that’ll transport your taste buds to the Middle East. Whether you’re a seasoned cook or a kitchen novice, you’ll find that these fritters are surprisingly simple to prepare. But there’s more to this dish than meets the eye – its rich history and cultural significance make it a fascinating culinary adventure. Let’s explore the origins of this beloved street food and uncover the secrets to creating the perfect chickpea fritter.
History
The humble chickpea fritter has a rich history dating back thousands of years. You mightn’t realize it, but these crispy little morsels have been tantalizing taste buds since ancient times!
Envision this: bustling Middle Eastern markets, filled with the intoxicating aroma of sizzling falafel. It’s enough to make your mouth water!
Legend has it that falafel first appeared in Egypt, where Coptic Christians whipped up these savory treats as a meat-free option during Lent. Talk about a game-changer!
From there, these golden nuggets of goodness spread like wildfire across the region. They became street food royalty, capturing hearts and stomachs from Damascus to Jerusalem.
But falafel’s journey didn’t stop there. Oh no, these little flavor bombs had bigger plans! They hitched a ride with immigrants, conquering new territories and winning over palates worldwide.
Now, you can find falafel in hip food trucks, trendy restaurants, and even your local supermarket. It’s a true rags-to-riches story, from humble beginnings to global culinary stardom.
Who knew a simple chickpea could cause such a delicious revolution?
Recipe
Chickpea fritters, also known as falafel, are a delicious and versatile Middle Eastern dish that has gained popularity worldwide. These crispy, savory bites are packed with flavor and offer a satisfying vegetarian option for any meal. With their golden-brown exterior and tender interior, chickpea fritters are perfect as a snack, appetizer, or main course.
This recipe for chickpea fritters is simple to make and requires just a handful of ingredients. The combination of chickpeas, aromatic spices, and fresh herbs creates a flavorful base, while frying gives the fritters their signature crispy texture. Served with a tangy harissa yogurt sauce and fresh mint, these fritters are sure to become a favorite in your culinary repertoire.
- 2 (15 oz) cans chickpeas, drained and rinsed
- 1/2 cup all-purpose flour
- 1/4 cup finely chopped onion
- 2 cloves garlic, minced
- 2 tablespoons chopped fresh parsley
- 1 teaspoon ground cumin
- 1/2 teaspoon salt
- 1/4 teaspoon black pepper
- 1/2 cup plain Greek yogurt
- 2 tablespoons harissa paste
- 1/4 cup fresh mint leaves
- Vegetable oil for frying
In a food processor, combine chickpeas, flour, onion, garlic, parsley, cumin, salt, and pepper. Pulse until the mixture forms a coarse paste. Shape the mixture into small patties, about 2 inches in diameter and 1/2 inch thick. Refrigerate the patties for 30 minutes to firm up.
Heat about 1/4 inch of vegetable oil in a large skillet over medium-high heat. Fry the fritters for 2-3 minutes on each side until golden brown. While the fritters are cooking, mix the Greek yogurt with harissa paste in a small bowl. Serve the hot fritters with a dollop of harissa yogurt and garnish with fresh mint leaves.
For the best texture, avoid over-processing the chickpea mixture. The fritters should have some texture and not be completely smooth. If the mixture is too wet, add a bit more flour to help bind it together. Conversely, if it’s too dry, a splash of water or lemon juice can help achieve the right consistency. You can also add additional spices like coriander or paprika to customize the flavor profile to your liking.
To make these fritters even healthier, consider baking them instead of frying. Preheat your oven to 375°F (190°C), place the fritters on a lined baking sheet, and brush them lightly with oil. Bake for 20-25 minutes, flipping halfway through, until golden brown and crispy. This method reduces the overall oil content while still delivering a delicious result.
For a gluten-free option, substitute the all-purpose flour with chickpea flour or your preferred gluten-free flour blend. These fritters can be made ahead and stored in the refrigerator for up to 3 days, or frozen for up to a month. Simply reheat in the oven or toaster oven to restore their crispiness before serving.
Cooking Steps
Ready to transform those humble chickpeas into crispy, golden fritters?
First, you’ll pulse the ingredients in a food processor until they form a coarse paste, then shape this mixture into small patties that’ll chill out in the fridge for 30 minutes.
When it’s showtime, heat up that oil and watch those fritters sizzle and dance their way to crispy perfection, turning a mouthwatering shade of brown that’ll make your taste buds do a happy dance!
Step 1. Pulse Ingredients in Processor
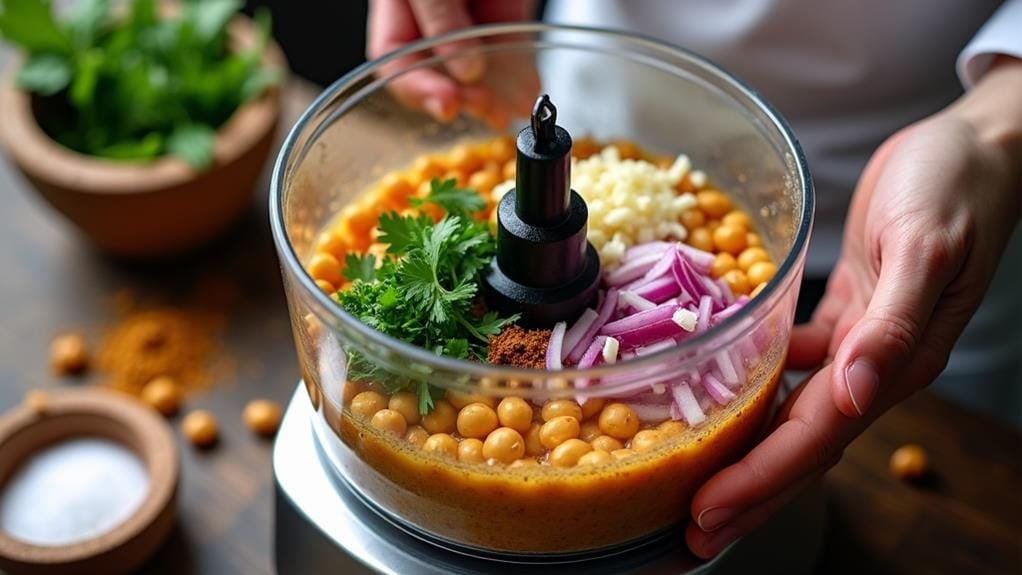
Begin by gathering your food processor’s essential components. You’ll need the bowl, blade, and lid to create chickpea magic!
Now, let’s plunge into the heart of your falafel adventure.
Dump those chickpeas into the processor like you’re filling a treasure chest with golden nuggets. Add the flour, it’s the glue that’ll hold your fritters together. Toss in the finely chopped onion, it’s the secret flavor bomb waiting to explode. Don’t forget the garlic cloves, they’re tiny but mighty flavor warriors. Sprinkle in the parsley, it’s like confetti for your taste buds. Finally, add the cumin, the spice that’ll transport you straight to the Middle East.
Now, here’s where the fun begins. Hit that pulse button like you’re playing a culinary video game. Watch as the ingredients dance and mingle, transforming into a coarse paste.
But don’t go overboard! You want texture, not baby food. Pulse, pause, scrape, repeat. It’s a rhythm, a falafel tango. When you’ve got a mixture that’s chunky yet cohesive, you’ve hit the jackpot. Your fritter foundation is ready for the next exciting step!
Step 2. Shape Into Small Patties
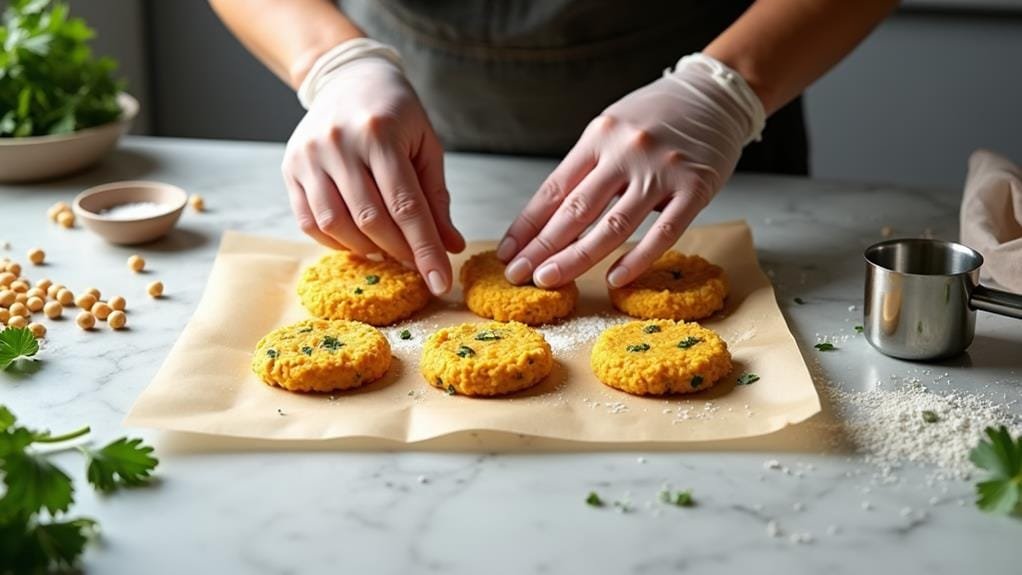
Now that you’ve got your chickpea mixture ready, it’s time to get your hands dirty. Grab a handful of the mixture and roll it between your palms, feeling the cool, slightly sticky texture. Shape it into a small patty, about the size of a silver dollar pancake.
Don’t worry if it’s not perfect – these little imperfections give your fritters character! As you form each patty, imagine the sizzle they’ll make in the pan, the golden-brown crust that’ll form, and the heavenly aroma that’ll fill your kitchen.
Line them up on a plate like tiny soldiers, ready for battle in the skillet. You’re not just making fritters; you’re creating edible works of art!
Once you’ve shaped all your patties, pop them in the fridge for a quick chill. This 30-minute timeout helps them firm up, ensuring they’ll hold their shape when they hit the hot oil.
It’s like sending your fritters to boot camp – they’ll come out tougher and ready to take on the world (or at least your taste buds)!
Step 3. Refrigerate Patties for 30 Minutes
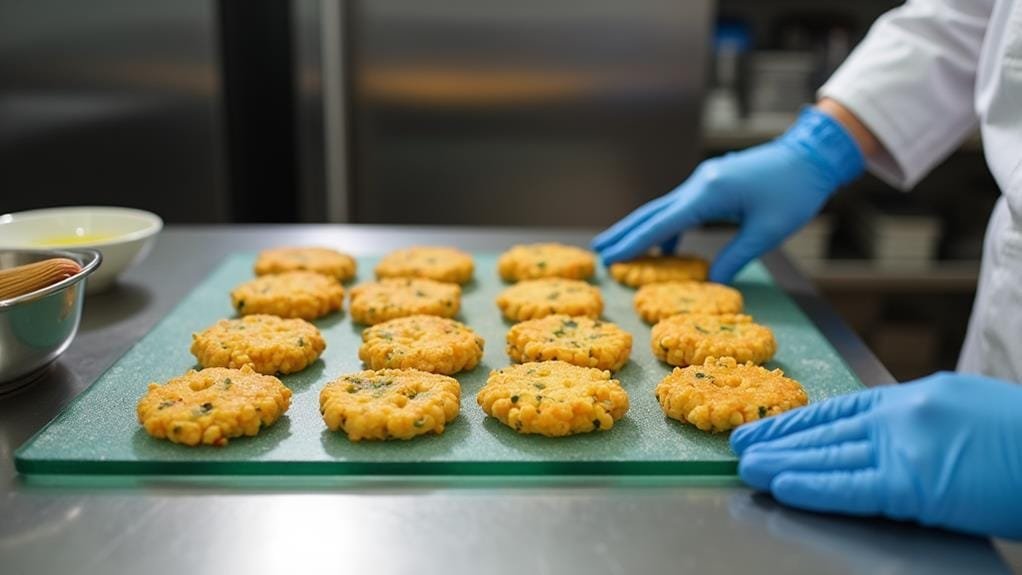
Once you’ve shaped all your patties, it’s crucial to refrigerate them for 30 minutes. This chilling time isn’t just a cruel way to make you wait for your delicious fritters – it’s a game-changer! As the patties cool down, they firm up, transforming from fragile, crumbly discs into sturdy little warriors ready for the frying pan.
Think of it as boot camp for your fritters, toughening them up for the sizzling battle ahead.
During this half-hour chill session, magic happens inside your fridge. The flour binds with the chickpea mixture, creating a texture that’ll make your taste buds dance. It’s like the ingredients are having a party, getting to know each other better before their big debut.
You might be tempted to skip this step, but trust us, it’s worth the wait. Use this time to whip up that harissa yogurt, chop some extra mint, or simply daydream about the crispy, golden fritters you’re about to devour.
When the timer dings, you’ll be rewarded with patties that are primed and ready to become the stars of your meal!
Step 4. Heat Oil for Frying
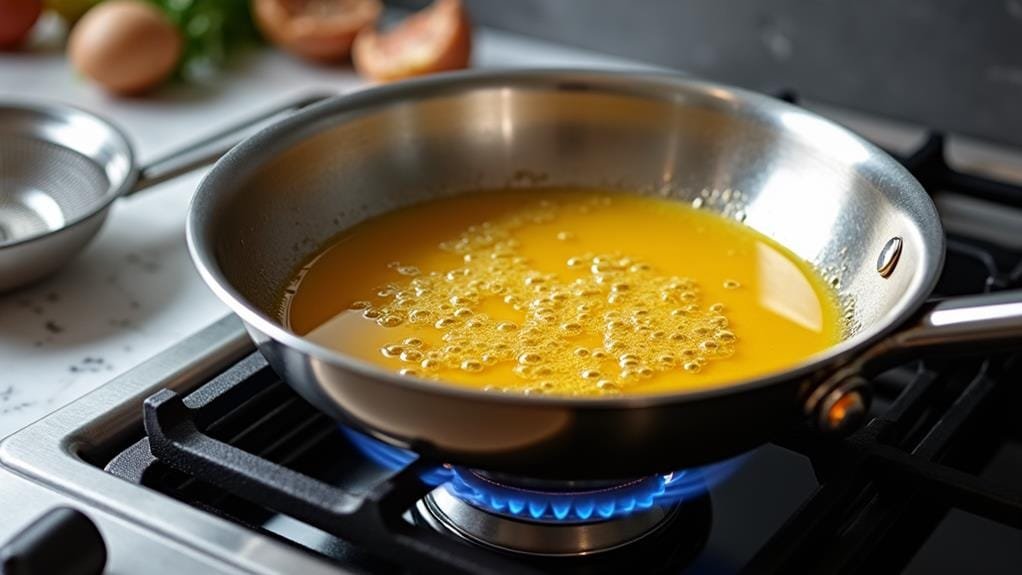
Ready to transform those chilled patties into crispy, golden fritters? It’s time to fire up that skillet and get frying!
Grab your favorite large pan and pour in enough vegetable oil to cover the bottom. You’re aiming for about a quarter-inch depth – think of it as creating a sizzling oil jacuzzi for your fritters to take a dip in.
Crank up the heat to medium-high and wait for the oil to shimmer. It’s like watching a disco ball come to life in your kitchen!
To test if it’s hot enough, drop in a tiny bit of the chickpea mixture. If it immediately starts to dance and bubble, you’re good to go.
Now, gently slide those patties into the oil – but don’t overcrowd the pan! Give them space to boogie. Let them sizzle away for 2-3 minutes on each side, flipping once they’ve achieved that perfect golden-brown hue.
You’ll hear them singing a crispy song as they cook. When they’re done, fish them out with a slotted spoon and let them rest on a paper towel-lined plate.
They’ll be hotter than a summer sidewalk, so resist the urge to nibble just yet!
Step 5. Fry Fritters Until Golden Brown
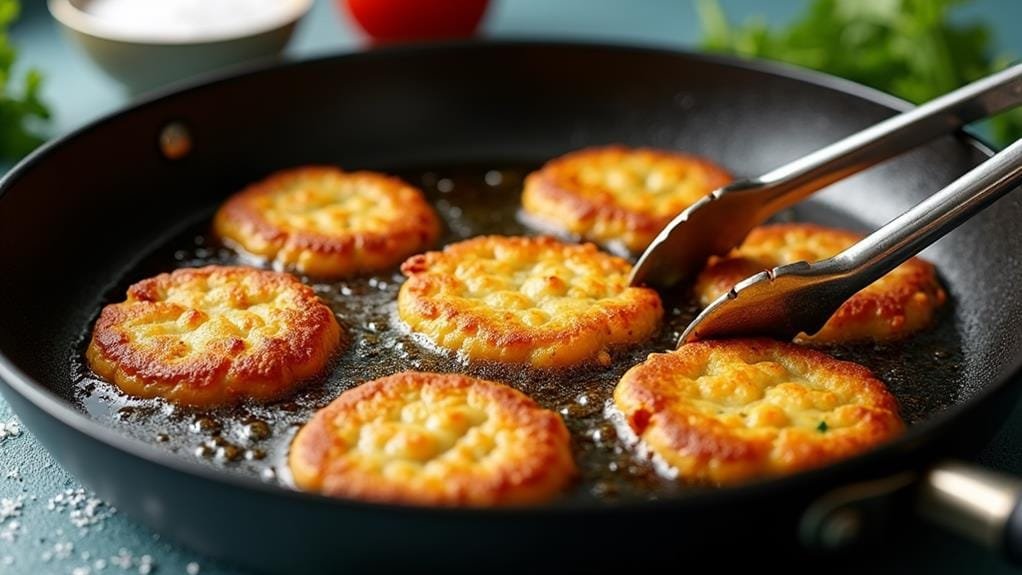
Gently slide the chilled chickpea patties into the hot oil, working in batches to avoid overcrowding the pan. Watch as they sizzle and dance, transforming from pale, unassuming discs into golden-brown morsels of deliciousness.
You’ll hear the oil singing its crispy song, a culinary symphony that’ll make your mouth water!
Keep a watchful eye on these little beauties, flipping them after about 2-3 minutes. You’re aiming for that perfect, sun-kissed hue – not too light, not too dark. It’s like giving your fritters a Mediterranean tan!
As they cook, you’ll notice the irresistible aroma of cumin and garlic wafting through your kitchen. It’s enough to make your stomach growl louder than a hungry lion!
Once they’re crispy and golden on both sides, scoop ’em out with a slotted spoon. Let them rest on a paper towel-lined plate, like tiny sunbathers soaking up the last rays of oil.
You’ve just created a batch of crispy, flavor-packed fritters that’d make any falafel stand jealous. Get ready to bite into these crunchy orbs of chickpea goodness – your taste buds are in for a wild ride!
Step 6. Mix Yogurt and Harissa
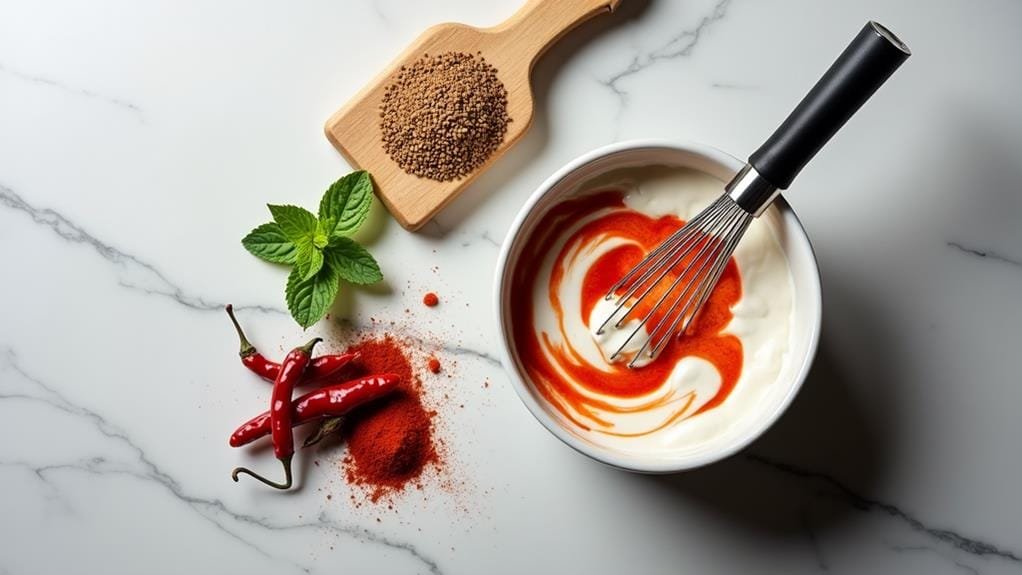
While your fritters are sizzling to perfection, it’s time to whip up the creamy, spicy sidekick that’ll take this dish to the next level. Grab your Greek yogurt and harissa paste, and let’s get mixing!
In a small bowl, dollop that thick, tangy yogurt like you’re crowning a culinary masterpiece. Now, here comes the kick – add a generous spoonful of fiery harissa paste. It’s like inviting a daredevil to your taste bud party!
Get your whisk ready, because you’re about to create a flavor explosion. Swirl that harissa into the yogurt like you’re painting a spicy sunset. Don’t be shy – mix it thoroughly until you’ve got a beautiful, blush-colored concoction that’ll make your fritters weak at the knees.
Taste it, and if you’re feeling bold, add more harissa. Remember, we’re not just making a sauce; we’re crafting a tangy, spicy dream that’ll dance on your tongue and leave you craving more.
This harissa yogurt isn’t just a condiment; it’s the secret weapon that’ll transform your humble chickpea fritters into a Middle Eastern feast fit for royalty!
Wrapping Up
To wrap up this delicious culinary adventure, you’ll find that these chickpea fritters are a versatile addition to your recipe repertoire. They’re like little golden nuggets of joy, crispy on the outside and tender on the inside, ready to transport your taste buds to the vibrant streets of the Middle East.
You can serve them as a show-stopping appetizer, stuff them into pitas for a hearty lunch, or crown them atop a fresh salad for a protein-packed dinner.
Don’t be afraid to get creative! These fritters are your culinary canvas. Experiment with different spices, toss in some chopped herbs, or even add a sprinkle of feta cheese to the mix. The possibilities are as endless as your imagination.
And let’s not forget about that harissa yogurt – it’s the yin to your fritter’s yang, the cool to its crisp, the tangy to its savory. It’s so good, you might find yourself licking the spoon (we won’t judge).


