You’ve likely encountered Japanese cuisine before, but have you tried the comforting fusion dish known as Chicken Katsu Curry?
This meal combines crispy breaded chicken cutlets with a rich, flavorful curry sauce, creating a perfect balance of textures and tastes. It’s a dish that tells a story of cultural exchange and culinary adaptation, having evolved from British influences to become a beloved staple in Japanese households and restaurants worldwide.
As you consider the golden-fried chicken nestled atop a bed of steaming rice, smothered in velvety curry sauce, you might wonder about its origins and how to recreate this mouthwatering experience at home.
History
Tracing its roots back to the late 19th century, Japanese Chicken Katsu Curry emerged as a delicious fusion of Western and Eastern cuisines. You might wonder, “How did this mouthwatering marvel come to be?” Well, buckle up for a tasty trip through time!
It all started when Japan opened its doors to the world, embracing new flavors like a hungry kid in a candy store. British naval officers introduced curry to Japan, and boy, did it make waves! The Japanese, always culinary innovators, took this spicy newcomer and made it their own. They tamed the heat, sweetened the sauce, and voilà! Japanese curry was born.
But wait, there’s more! Enter the katsu, a crispy, golden-brown cutlet inspired by European schnitzel. Some genius (probably with a growling stomach) decided to marry these two delights, and bam! Chicken Katsu Curry burst onto the scene like a flavor explosion.
It’s been stealing hearts and satisfying cravings ever since, proving that sometimes, the best things in life come from unexpected combinations. Who knew that a cultural mash-up could taste so darn good?
Recipe
Japanese Chicken Katsu Curry is a delightful fusion dish that combines crispy breaded chicken with a rich, flavorful curry sauce. This comfort food staple brings together the best of Western and Japanese culinary traditions, resulting in a satisfying meal that’s both hearty and delicious.
To create this dish at home, you’ll need to prepare two main components: the crispy chicken katsu and the savory curry sauce. The chicken is breaded and fried to golden perfection, while the curry sauce is typically made using a convenient store-bought roux, which can be enhanced with additional vegetables if desired.
Ingredients:
- 4 boneless, skinless chicken breasts
- 1 cup all-purpose flour
- 2 large eggs, beaten
- 2 cups panko breadcrumbs
- 1 cup vegetable oil
- 1 package (8.4 oz) Japanese curry roux
- 4 cups water
- 2 cups cooked white rice
- Optional: 1 carrot, diced
- Optional: 1 potato, diced
- Optional: 1 onion, diced
To prepare the dish, start by pounding the chicken breasts to an even thickness of about 1/2 inch. Set up a breading station with three shallow dishes: one with flour, one with beaten eggs, and one with panko breadcrumbs. Dredge each chicken breast in flour, then dip in egg, and finally coat with panko.
Heat the vegetable oil in a large skillet over medium-high heat and fry the breaded chicken until golden brown and cooked through, about 3-4 minutes per side. While the chicken is cooking, prepare the curry sauce according to package instructions, adding the optional vegetables if desired.
Once the chicken is done, let it rest for a few minutes before slicing into strips. Serve the chicken over rice and pour the curry sauce on top.
For the best results, make certain to pound the chicken breasts evenly to guarantee they cook uniformly. This will help prevent any parts from becoming overcooked or dry. Additionally, allowing the breaded chicken to rest for a few minutes before frying can help the coating adhere better, resulting in a crispier exterior.
When preparing the curry sauce, don’t be afraid to adjust the consistency to your liking. If the sauce is too thick, add a little water; if it’s too thin, let it simmer for a few more minutes to reduce.
For an extra touch of authenticity, consider serving the Chicken Katsu Curry with pickled vegetables or fukujinzuke, a type of Japanese relish, on the side to balance out the rich flavors of the dish.
Cooking Steps
Get ready to transform your chicken into a crispy, golden masterpiece!
First, you’ll pound those breasts until they’re as flat as a sumo wrestler’s futon, ensuring even cooking.
Then, you’ll guide your chicken through a three-step spa treatment: a luxurious flour bath, a dip in beaten egg, and finally, an invigorating roll in crunchy panko breadcrumbs.
Last but not least, you’ll sizzle those breaded beauties in hot oil until they’re more golden than a samurai’s armor, and just as impressive!
Step 1. Pound Chicken to Uniform Thickness

The first step in preparing Chicken Katsu is to pound the chicken breasts to a uniform thickness. Grab your trusty meat mallet and channel your inner drummer – it’s time to give those chicken breasts a beating!
Place each breast between two sheets of plastic wrap, creating a chicken sandwich that’s about to get flattened like a pancake.
Now, here’s where the fun begins. With gusto, start pounding that chicken like it owes you money! But don’t go wild; you’re aiming for an even thickness, not chicken confetti.
Imagine you’re smoothing out a lumpy pillow, gently but firmly working from the center outwards. You want each breast to be about 1/2 inch thick, as uniform as a perfectly ironed shirt.
Why bother with this chicken-flattening fiesta? Well, even thickness means even cooking, and that’s the secret to juicy, perfectly cooked katsu.
No more dry edges and undercooked centers – just crispy, golden perfection from edge to edge. So, embrace your inner chicken whisperer and pound away!
Step 2. Dredge Chicken in Flour
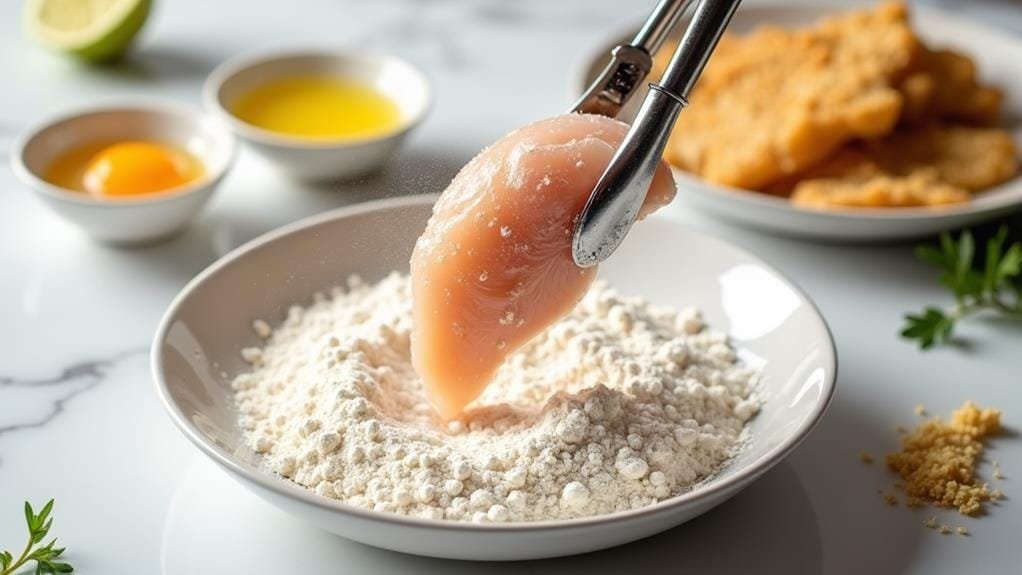
After pounding your chicken to perfection, it’s time to give it a dusty coat of flour. This vital step is like giving your chicken a cozy, powdery blanket that’ll help the egg wash stick later. Grab a shallow dish and fill it with all-purpose flour, your chicken’s new best friend.
Now, here’s where the fun begins! Take each chicken breast and plunge it into the flour, making sure every nook and cranny is covered. It’s like you’re a culinary artist, and the flour is your paint. Don’t be shy – really get in there and make that chicken look like it’s been caught in a delicious snowstorm!
Shake off any excess flour; we want a light dusting, not a flour avalanche. This floury foundation is the secret to achieving that perfect, crispy katsu crust. It’s the difference between “meh” and “magnificent”!
As you dredge each piece, imagine the sizzle and crunch that awaits. You’re not just cooking; you’re creating a masterpiece that’ll make your taste buds do a happy dance!
Step 3. Dip Chicken in Beaten Eggs
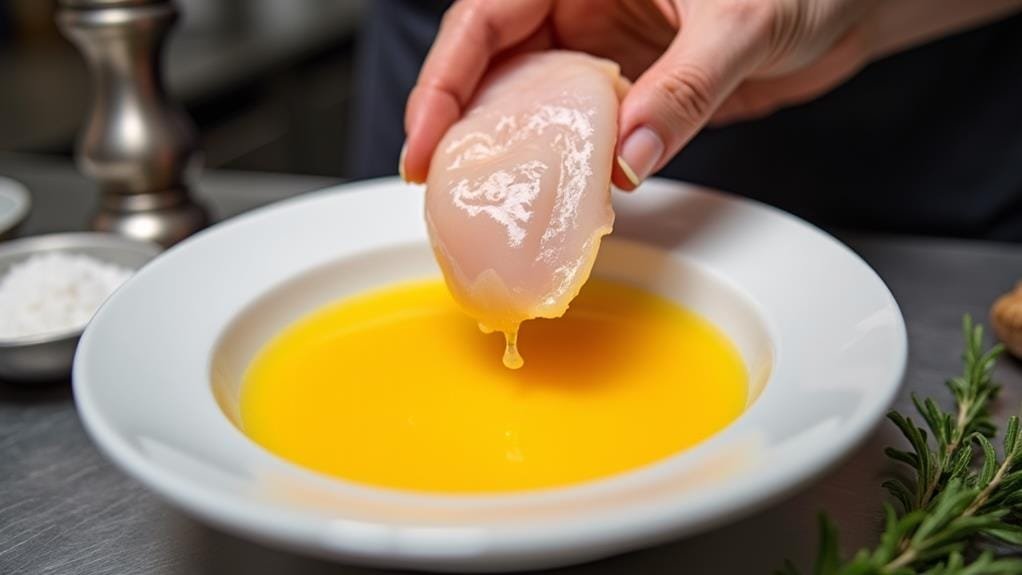
Moving on from the flour-coated chicken, it’s time to give your cutlets a luxurious egg bath. This step is essential, folks! It’s the glue that’ll make your panko stick like a lovesick teenager to their crush. Crack those eggs into a shallow dish and beat ’em like they owe you money.
Now, get ready for some messy fun! Grab your floured chicken with one hand (let’s call it your “dry hand”) and dunk it into the eggy pool. Use your other hand (the “wet hand”) to guarantee it’s fully coated. It’s like you’re giving your chicken a spa day, but instead of cucumbers on its eyes, it’s getting a golden facial.
Don’t be shy – make sure every nook and cranny is covered. The egg wash will create a barrier between the flour and panko, resulting in that perfect, crispy exterior we’re all drooling over. Once your chicken’s taking an egg bath, let the excess drip off. You want it coated, not drowning!
This step might seem simple, but it’s the secret to achieving katsu perfection.
Step 4. Coat Chicken With Panko Breadcrumbs
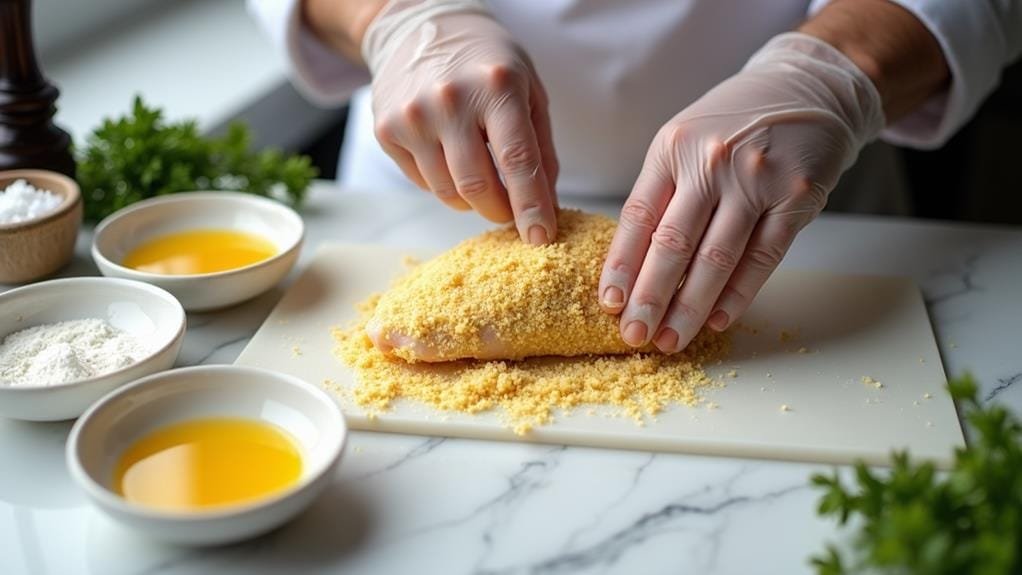
Now for the pièce de résistance: panko breadcrumbs! These magical, light-as-air crumbs are about to transform your chicken into a crispy golden masterpiece. Grab that bowl of panko and get ready for some serious coating action!
Take each egg-dipped chicken breast and lovingly nestle it into the panko. It’s like giving your chicken a crunchy hug! Press firmly, making sure every nook and cranny is covered. Don’t be shy – really get in there and massage those breadcrumbs onto the surface.
You want your chicken looking like it just rolled in a snowbank of crispy goodness! As you work, imagine the satisfying crunch these panko-coated beauties will make when you bite into them. It’s like music to your taste buds!
If you’re feeling fancy, add a pinch of dried herbs or a dash of paprika to the panko for an extra flavor kick. Remember, a well-coated chicken is a happy chicken, so don’t skimp on the breadcrumbs.
When you’re done, your chicken should look like it’s wearing a textured, golden armor, ready to face the sizzling oil ahead!
Step 5. Fry Breaded Chicken Until Golden
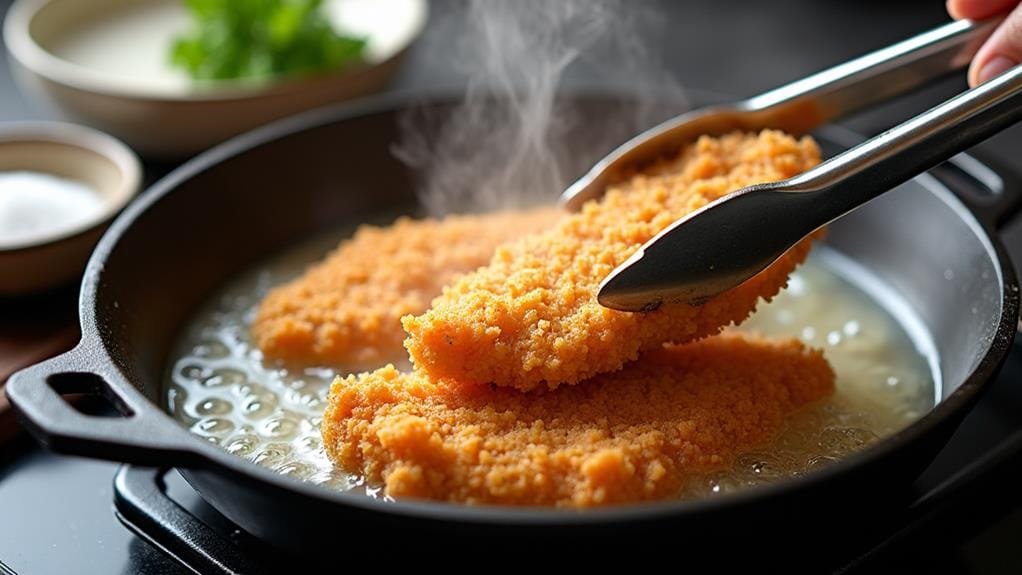
With your chicken beautifully coated in panko, it’s time to transform it into golden, crispy perfection. Grab that large skillet and pour in your vegetable oil, about a cup should do the trick. Crank up the heat to medium-high and let that oil get nice and hot. You’ll know it’s ready when a small piece of breading sizzles on contact, like a tiny fireworks show in your pan!
Now, gently lower your breaded chicken into the oil. Listen to that satisfying sizzle! It’s music to a chef’s ears. Keep a watchful eye on your poultry prize, letting it fry for about 3-4 minutes per side. You’re aiming for a color that’s golden brown, like a perfect summer tan. Flip it carefully, and watch as the other side transforms into a crispy, crunchy dream.
Once your chicken’s done its oil dance, lift it out and let it rest on a paper towel-lined plate. It’ll be steaming hot, a tempting golden beacon of deliciousness.
Resist the urge to dig in immediately – patience is key! Let it cool slightly, then slice it into strips, revealing the juicy interior beneath that crispy exterior. Your taste buds are in for a treat!
Step 6. Prepare Curry Sauce Separately
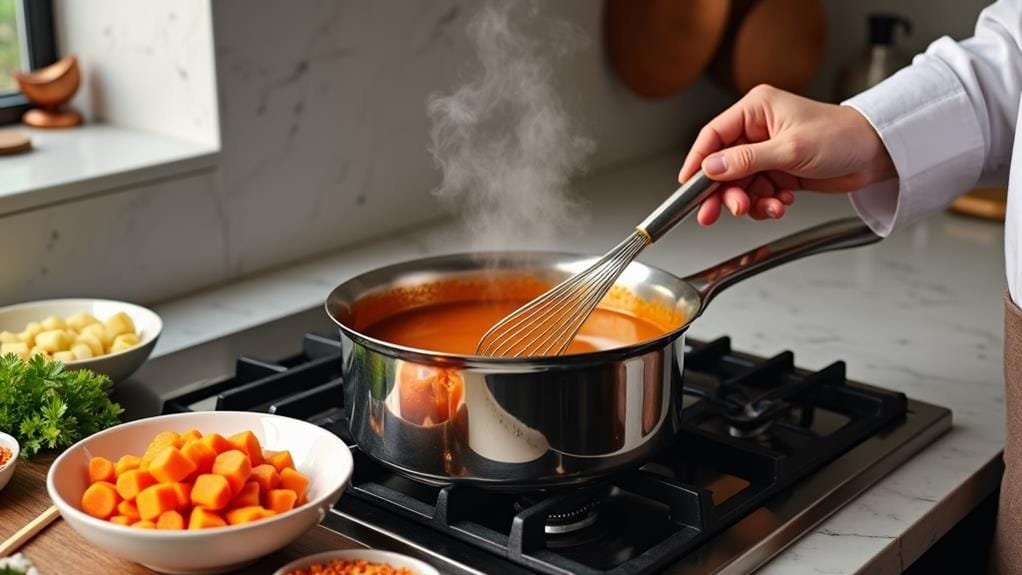
While your chicken is frying to golden perfection, it’s time to turn your attention to the star of the show: the curry sauce. This velvety, aromatic concoction is the heart and soul of your Chicken Katsu Curry, transforming a simple breaded cutlet into a mouthwatering masterpiece!
Grab that package of Japanese curry roux, your culinary fairy godmother in a box. It’s packed with flavor bombs just waiting to explode in your pot! Follow the instructions like they’re a treasure map leading to flavor town. As the roux melts into the simmering liquid, watch in awe as it morphs into a rich, glossy sauce that’ll make your taste buds do the happy dance.
Want to kick it up a notch? Toss in some diced carrots, potatoes, or onions. They’ll soak up the curry goodness like tiny, edible sponges.
Stir occasionally, inhaling the intoxicating aroma that’s about to make your kitchen smell like a Japanese comfort food paradise. When the veggies are tender and the sauce is thick enough to coat the back of a spoon, you’ve struck curry gold!
Wrapping Up
Japanese Chicken Katsu Curry offers a delightful blend of textures and flavors that’ll satisfy your comfort food cravings. It’s like a culinary hug for your taste buds!
As you dig into this mouthwatering dish, you’ll experience the perfect harmony of crispy, golden-brown chicken and velvety curry sauce. It’s a flavor explosion that’ll make your taste buds do a happy dance!
Now that you’ve mastered the art of creating this Japanese masterpiece, it’s time to plate up and indulge. Serve your katsu curry over a steaming bed of fluffy rice, and watch as the curry sauce cascades down the crispy chicken like a savory waterfall.
Don’t forget to add a pop of color with some pickled veggies on the side – they’re not just pretty, they’ll help cut through the richness of the dish.
As you take that first bite, savor the moment. You’ve just created a little piece of Japan in your own kitchen! So go ahead, pat yourself on the back (careful not to get curry on your shirt), and enjoy every last morsel of your culinary creation.


