You'll transform ordinary chocolate bark into a dazzling holiday treat with this frosty mint chocolate candy cane recipe! Start by melting dark chocolate in a double boiler, swirling in white chocolate for that eye-catching marbled effect, and adding just the right touch of peppermint extract for that cool, festive kick. While the chocolate's still wet, sprinkle crushed candy canes on top for a satisfying crunch and sparkly presentation. Perfect for gift-giving or holiday parties, this recipe strikes that magical balance between rich chocolate and invigorating mint. There's so much more to discover about this irresistible winter confection.
History

Dating back to the early 1900s, the combination of chocolate and mint emerged as a popular confectionery pairing in both European and American candy-making.
You'll find that candy cane origins stretch even further back, with German choirmasters creating white, hooked sticks in the 1670s to keep children quiet during nativity services. These plain sugar sticks evolved into the red-and-white striped peppermint treats you know and love today.
The marriage of chocolate and mint wasn't far behind, as chocolatiers discovered that mint's cool, invigorating properties perfectly balanced chocolate's rich intensity.
You're probably familiar with those classic chocolate-covered candy canes that pop up during the holidays, but did you know they're part of chocolate history that spans thousands of years?
While ancient Mayans were sipping their unsweetened chocolate drinks, they'd often add herbs and spices – though mint wasn't one of them!
It wasn't until European chocolate makers started experimenting with flavors in the 19th century that this magical combination was born, and we've been obsessed with it ever since.
Recipe

Frosty Mint Chocolate combines dark chocolate's rich smoothness with invigorating peppermint for a delightful holiday treat. The addition of crushed candy canes creates both visual appeal and a satisfying crunch, making it perfect for gift-giving or festive gatherings.
This elegant yet simple dessert relies on proper chocolate handling techniques and precise temperature control to achieve its characteristic glossy finish and snap. The careful blend of dark and white chocolate creates an attractive marbled effect, while the peppermint extract provides a cool, invigorating flavor that perfectly complements the chocolate's richness.
- 12 ounces dark chocolate chips
- 4 ounces white chocolate chips
- 1/2 teaspoon peppermint extract
- 3 candy canes
- 1/4 cup heavy cream
- 2 tablespoons unsalted butter
- Parchment paper
Line a 9×13 inch baking pan with parchment paper. Using a double boiler, melt dark chocolate and butter together until smooth, stirring constantly. Remove from heat and stir in heavy cream and peppermint extract until well combined. Pour mixture into prepared pan.
In a separate double boiler, melt white chocolate until smooth. Drizzle white chocolate over dark chocolate layer and create swirls using a knife or toothpick. Crush candy canes and sprinkle evenly over the top. Refrigerate for 2 hours or until completely set. Cut or break into pieces.
Temperature control is essential throughout the process. Never exceed 120°F when melting chocolate, and make sure all utensils are completely dry, as even a small amount of water will cause the chocolate to seize. If using a microwave instead of a double boiler, heat in 30-second intervals, stirring between each interval to prevent scorching.
For the cleanest cuts, dip a sharp knife in hot water, dry completely, and slice while the chocolate is still slightly chilled. Store the finished bark in an airtight container in the refrigerator, placing wax paper between layers to prevent sticking. Allow bark to sit at room temperature for 5-10 minutes before serving to enhance the mint flavor and achieve the ideal texture.
Cooking Steps

You're about to initiate a chocolate-making adventure that'll make your kitchen feel like a cozy winter wonderland.
Starting with a perfectly set up double boiler, you'll transform simple ingredients into layers of minty magic, swirling dark and white chocolate together like a frosty masterpiece waiting to happen.
Once you've sprinkled those crushed candy canes on top, creating a sparkly blanket of peppermint crunch, you'll be counting down the minutes until your creation is ready to slice into perfect, holiday-worthy pieces.
Step 1. Prepare Double Boiler Setup
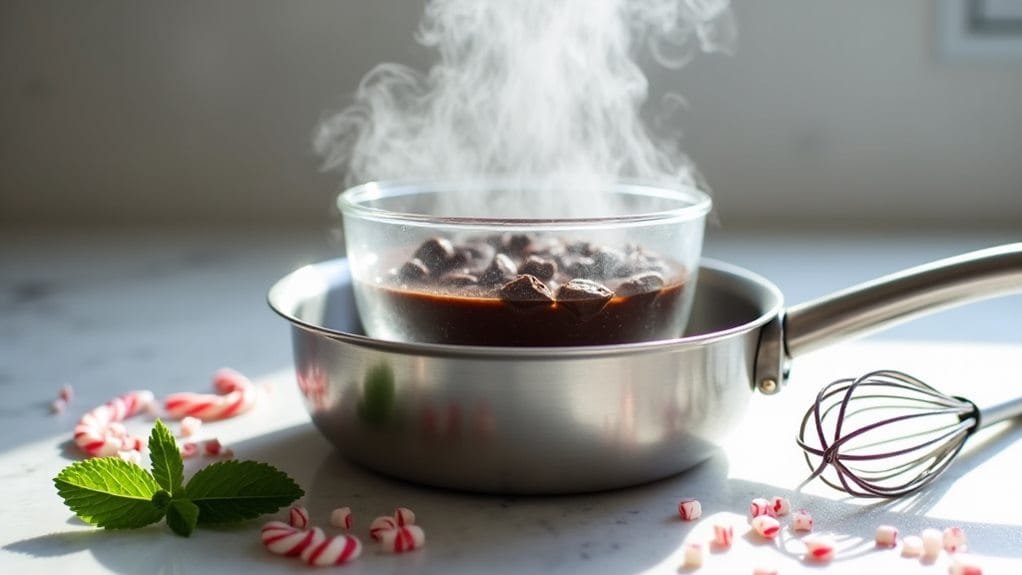
Mastering a proper double boiler setup is essential for melting chocolate smoothly and preventing scorching. You'll need two key pieces: a saucepan filled with about 2 inches of water and a heat-safe bowl that fits snugly on top without touching the water. Think of it as creating a cozy steam spa for your chocolate!
First, bring your water to a gentle simmer – we're talking tiny bubbles here, not a rolling boil that'll turn your kitchen into a sauna. Place your heat-safe bowl on top, making absolutely sure it's bone-dry (water's chocolate's arch-nemesis!).
You'll want the bowl to sit securely without wobbling around like a penguin on roller skates. The steam from below will gently warm your bowl, creating the perfect environment for melting chocolate.
Keep the heat on medium-low – you're not racing here! Stir your chocolate frequently with a dry spatula or spoon, watching it transform from solid chunks into a glossy river of deliciousness.
If you notice the water getting too excited below, simply reduce the heat. Remember, patience is your best friend when melting chocolate!
Step 2. Melt Dark Chocolate Mixture

The melting process begins with placing 12 ounces of dark chocolate chips and 2 tablespoons of butter in your prepared double boiler bowl.
Watch in amazement as these two ingredients start their magical transformation! Keep stirring gently – you're not trying to whip up a tornado, just coax the chocolate into submission.
You'll know you're nailing the chocolate tempering when the mixture becomes glossy and smooth, like a mirror reflecting your excited face.
Don't rush this process; proper melting typically takes about 5-7 minutes. Once your chocolate reaches that perfect, silky consistency, it's time to remove it from the heat and stir in your heavy cream.
Now comes the exciting part – add that transformative 1/2 teaspoon of peppermint extract, which'll turn your chocolate into a winter wonderland of flavor!
Here's a vital tip: if your chocolate starts looking grainy or clumpy (we've all been there!), don't panic! Lower the heat immediately and keep stirring – you can usually save it.
Step 3. Add White Chocolate Layer
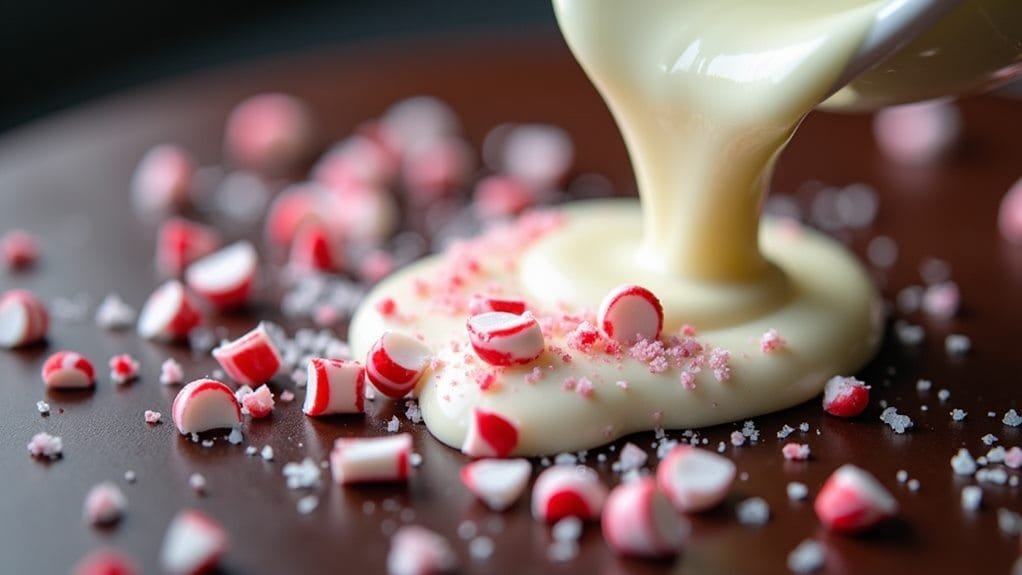
With your dark chocolate mixture ready and waiting, it's time to create the striking white chocolate layer. The white chocolate benefits aren't just visual – this creamy addition brings a whole new dimension of sweetness that'll make your taste buds dance!
Grab your remaining 4 ounces of white chocolate chips and get ready for some marbling magic.
Now, here's where your layering techniques really shine. Melt your white chocolate just like you did with the dark chocolate, but be extra careful – white chocolate can be a bit temperamental and burns faster than its darker cousin!
Once it's silky smooth, drizzle it in thin streams across your dark chocolate base. You'll want to work quickly here, while both chocolates are still warm and pliable.
Take a toothpick or butter knife and create mesmerizing swirls by gently dragging it through both layers. Don't overdo it – think of yourself as a chocolate artist creating delicate marble patterns!
The key is to make elegant, sweeping motions that'll transform your treat into a winter wonderland of swirling whites and browns.
Step 4. Add Crushed Candy Topping
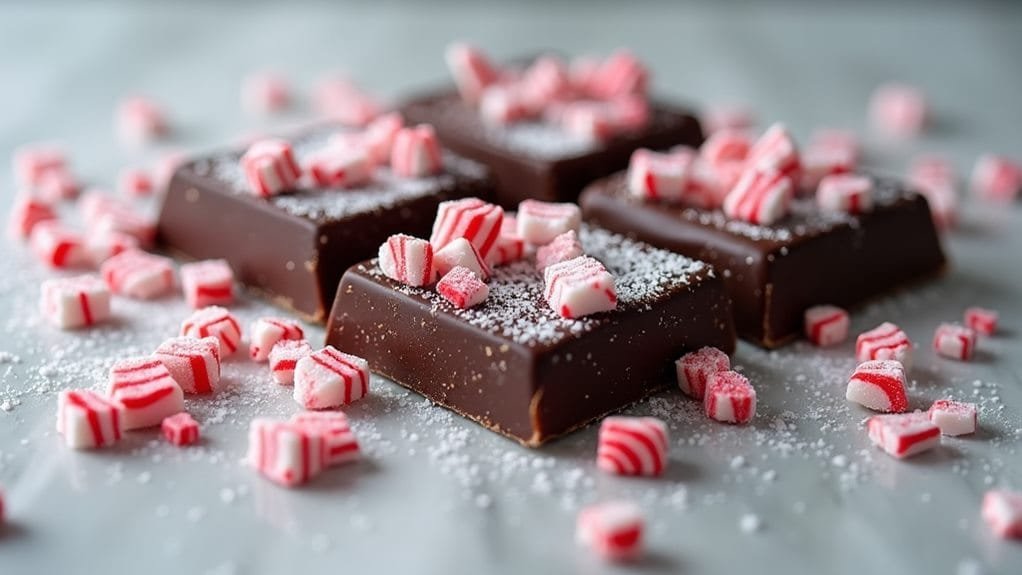
Before your chocolate layers begin to set, you'll need to quickly add the crushed candy cane topping for the perfect festive finish. Think of this step as adding the final sparkle to your winter wonderland creation – it's like sprinkling edible glitter that'll make your treat absolutely pop with holiday charm!
For the best results, you've got several candy cane variations to choose from. Traditional red and white candy canes work beautifully, but don't be afraid to experiment with other festive toppings like green-striped or even chocolate-flavored candy canes.
Simply place your candy canes in a sealed plastic bag, grab your rolling pin, and channel your inner Thor – crush those candies until they're the perfect size for sprinkling! You'll want a mix of fine dust and small chunks for varying texture.
Sprinkle your crushed candy pieces evenly across the surface while the chocolate's still wet. Work quickly, but don't panic – you've got this! Gently press larger pieces into the chocolate to guarantee they stick.
Step 5. Cool and Cut Bark
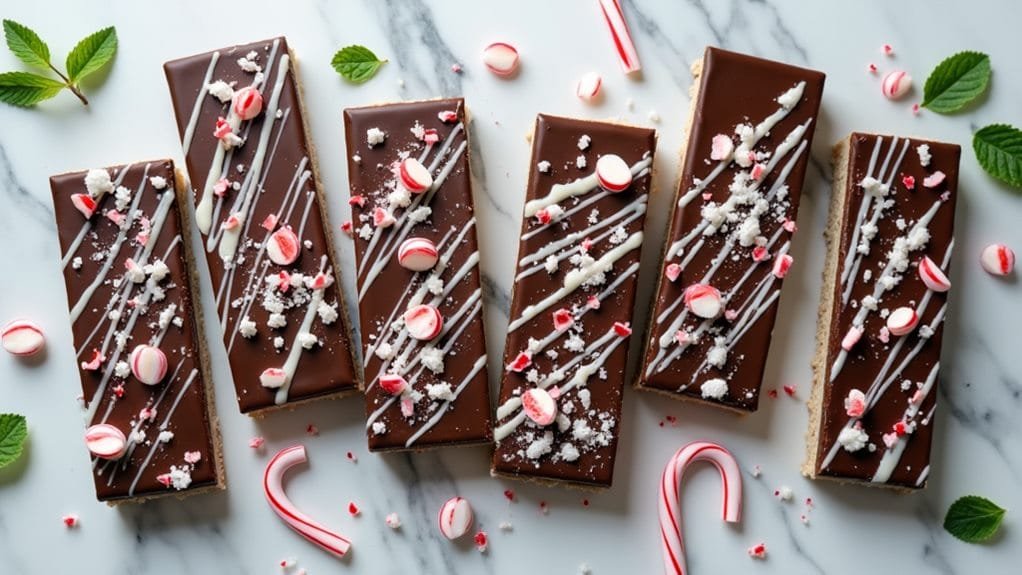
Now that your candy cane topping sits perfectly on the chocolate surface, it's time to let patience work its magic. Place your creation in the refrigerator for two hours – trust me, even though you'll be tempted to peek, resist that urge! This cooling period is essential for proper chocolate tempering, ensuring your bark will have that satisfying snap when broken.
After the wait (I know, it feels like forever!), remove your masterpiece from the refrigerator and let it rest at room temperature for 5-10 minutes. This brief warming period awakens the mint's intensity and creates the perfect flavor balance with the dark chocolate.
Now comes the fun part – breaking or cutting your bark! For those picture-perfect pieces, grab a sharp knife, run it under hot water, and dry it completely. Cut with confident, clean strokes, or simply channel your inner chocolate warrior and break it into rustic chunks with your hands.
Don't worry if some pieces aren't Instagram-worthy – they'll taste just as amazing! Store your minty creation in an airtight container, placing wax paper between layers to prevent them from becoming one giant chunk again.
Step 6. Package for Gifting

Looking to share your homemade Frosty Mint Chocolate with friends and family? Let's turn your delicious creation into a gorgeous gift that'll make everyone's eyes light up like a Christmas tree!
Start with a sturdy gift packaging foundation – those beautiful holiday tins or festive boxes you've been eyeing at the craft store are perfect. Line them with parchment paper or wax paper first, because nobody wants their chocolate pieces sticking together!
For a festive presentation that'll knock their candy canes off, arrange your mint chocolate pieces in neat layers, placing small squares of wax paper between each level to prevent any unwanted chocolate fusion.
Add some holiday magic by wrapping a bright ribbon around your container, or go all out with a handmade gift tag that tells the lucky recipient how to store their treat. Don't forget to mention it'll stay fresh for two weeks in the fridge – though let's be honest, it probably won't last that long!
For an extra special touch, tuck a few fresh candy canes alongside your chocolate bark, creating a complete winter wonderland package that's simply impossible to resist.
Wrapping Up
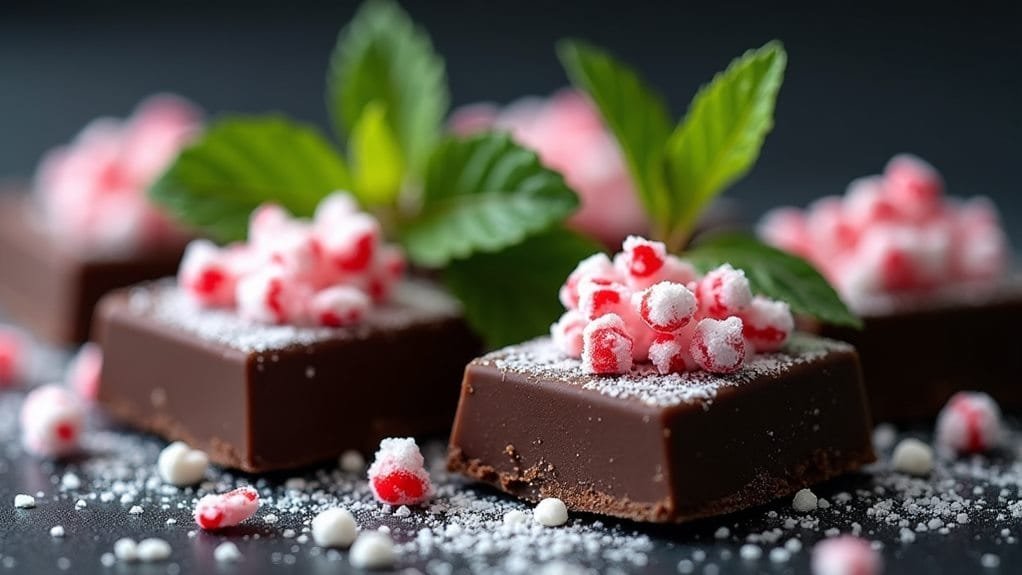
Success with Frosty Mint Chocolate depends on following each step carefully, from properly tempering the chocolate to adding just the right amount of peppermint extract.
Think of it as conducting a delicious symphony, where every ingredient plays its part at exactly the right moment. When you've mastered this recipe, you'll have a showstopping treat that's perfect for holiday gifting and guaranteed to make chocolate lovers swoon.
Remember, the magic lies in the flavor pairing of rich dark chocolate and cool peppermint – they're like winter's most perfect couple!
You'll know you've nailed it when your bark has that satisfying snap, glossy surface, and dreamy marble pattern. Don't worry if your first attempt isn't picture-perfect; even slightly imperfect pieces taste amazing and have that homemade charm that everyone loves.
Once you've mastered this recipe, you'll find yourself reaching for it again and again, especially during the holiday season.
Trust me, there's nothing quite like seeing someone's face light up when they bite into your homemade mint chocolate creation – it's pure kitchen magic!


