You're about to discover a magical holiday treat that transforms simple vanilla wafers into liquid Christmas joy! This indulgent cream liqueur combines crushed cookies, vodka, and warming spices into a velvety smooth concoction that'll make your taste buds dance. Start by infusing vodka with vanilla wafers for 48 hours, then blend with a heavenly mixture of cream, milk, sugar, and classic holiday spices like cinnamon and nutmeg. After straining and aging, you'll have a luxurious homemade liqueur that's perfect for sipping or adding to hot cocoa. The secret to this festive elixir lies in the details of its preparation and patience.
History
Cookie-based liqueurs date back to European monastic traditions, where monks crafted spirits infused with biscuits and spices as early as the 14th century.
You'll find that these clever monks weren't just praying all day – they were busy experimenting with different cookie varieties and local spirits, creating delicious concoctions that would eventually inspire modern holiday favorites.
The liqueur origins you're familiar with today really took off in the 19th century, when Italian families started incorporating cookie-infused spirits into their holiday traditions.
They'd gather around the fire, sharing stories and sipping these creamy delights that reminded them of freshly baked treats.
You'd be amazed to learn that many families kept their recipes super secret, passing them down through generations like precious heirlooms!
Recipe
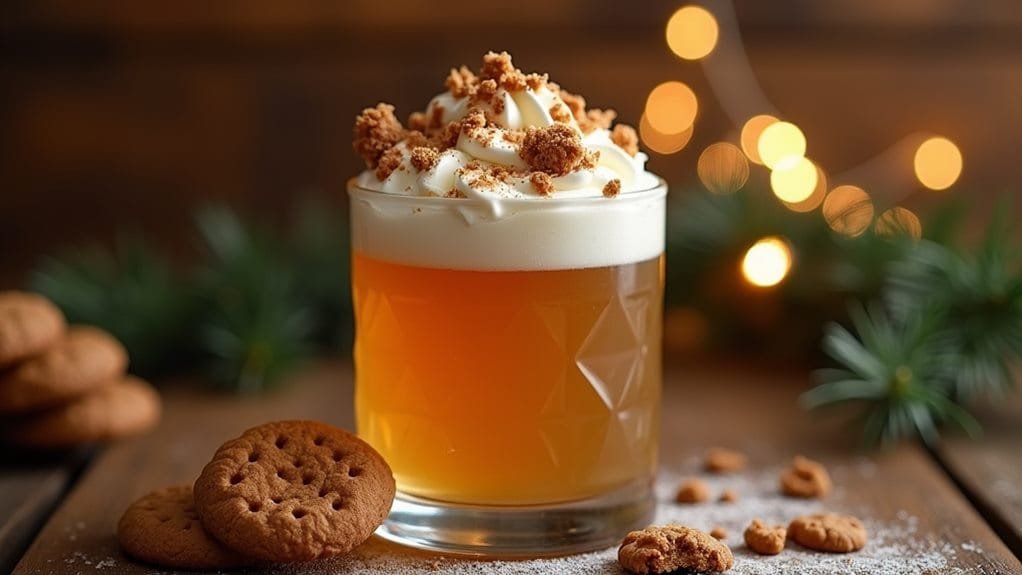
Christmas Eve Cookie Liqueur is a delightful homemade festive drink that captures the essence of holiday cookies in liquid form. This creamy, sophisticated beverage combines the warmth of vanilla wafers with traditional Christmas spices, creating a memorable holiday treat that's perfect for sharing with friends and family.
The process of making this liqueur involves two main stages: first, infusing vodka with crushed cookies to extract their flavor, and then combining this infusion with a creamy, spiced mixture. The result is a smooth, indulgent liqueur that can be enjoyed on its own or used as a festive addition to other beverages.
- 2 cups vanilla wafer cookies, crushed
- 2 cups vodka
- 1 cup heavy cream
- 1 cup whole milk
- 1 cup granulated sugar
- 2 teaspoons pure vanilla extract
- 1 teaspoon ground cinnamon
- ¼ teaspoon ground nutmeg
Place crushed vanilla wafers and vodka in a large glass jar with a tight-fitting lid. Store in a cool, dark place for 48 hours, shaking occasionally. Strain through a fine-mesh sieve lined with cheesecloth into a clean container.
In a saucepan, combine heavy cream, milk, and sugar, heating until sugar dissolves completely. Remove from heat and stir in vanilla extract, cinnamon, and nutmeg. Allow to cool completely before combining with the strained vodka mixture. Transfer to clean bottles and refrigerate for at least 24 hours before serving.
For the best results, use high-quality vodka and fresh spices. The quality of the vanilla wafers matters greatly, so choose a reputable brand. When crushing the cookies, aim for fine crumbs but avoid turning them into powder, as this can make straining more difficult.
The infusion process works best when the jar is filled no more than three-quarters full, allowing space for the ingredients to move when shaking. The liqueur will continue to develop its flavors over time, reaching peak taste after about two weeks of aging in the refrigerator.
Store the finished liqueur in sterilized bottles with tight-fitting caps or corks. While the liqueur can be consumed immediately after the initial 24-hour chilling period, patience will reward you with a more complex and balanced flavor profile. If any separation occurs during storage, simply shake the bottle gently before serving.
Cooking Steps
You'll start your cookie liqueur adventure by gathering all your ingredients and tools, just like Santa's elves prepping for their big night.
Next, you'll combine those crushed vanilla wafers with vodka in a jar, letting them mingle and dance together for 48 magical hours, while the cream mixture gets warmed separately with sugar and spices.
Step 1. Gather Ingredients and Tools
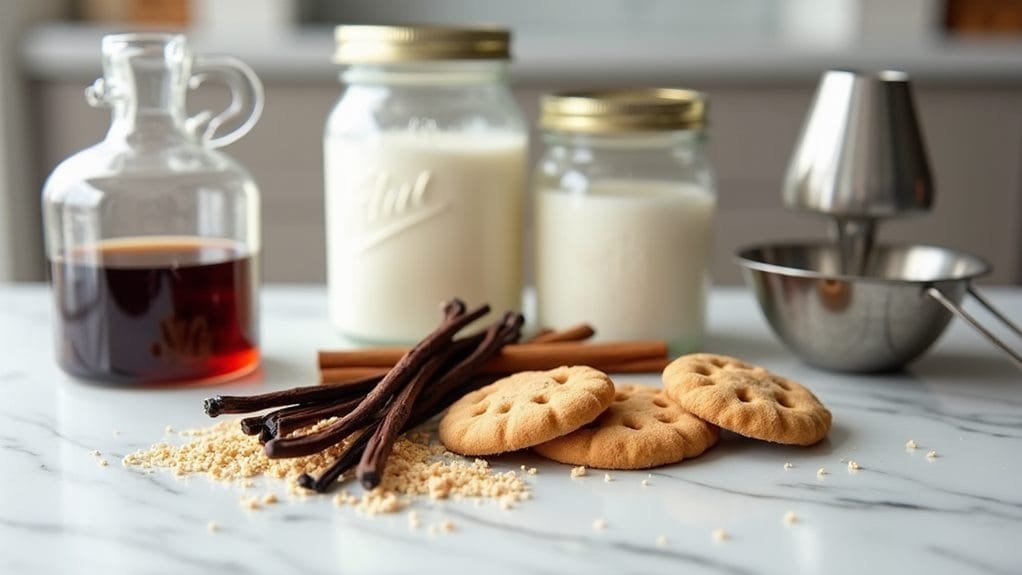
Before starting your holiday liqueur, gather all ingredients and equipment to guarantee a smooth preparation process.
You'll need pristine vanilla wafers (don't skimp on quality!), your favorite vodka, fresh heavy cream, whole milk, and granulated sugar. For that magical Christmas touch, make sure you've got pure vanilla extract, ground cinnamon, and nutmeg standing by like faithful holiday elves.
When it comes to essential tools, you'll want a large glass jar (think cookie-jar sized) for the initial infusion, a fine-mesh sieve that'll catch every cookie crumb, and cheesecloth that'll act like Santa's filter for crystal-clear results.
Don't forget a sturdy saucepan for warming your cream mixture, and clean bottles for storage – those vintage-style swing-top bottles work beautifully!
For ingredient substitutions, you can swap vanilla wafers with graham crackers in a pinch, though you'll lose some of that classic cookie charm.
If you're dairy-sensitive, you might consider using full-fat coconut milk instead of heavy cream, but remember – it'll give your liqueur a slight tropical twist that'll make Santa do a double-take!
Step 2. Mix Cookies With Vodka
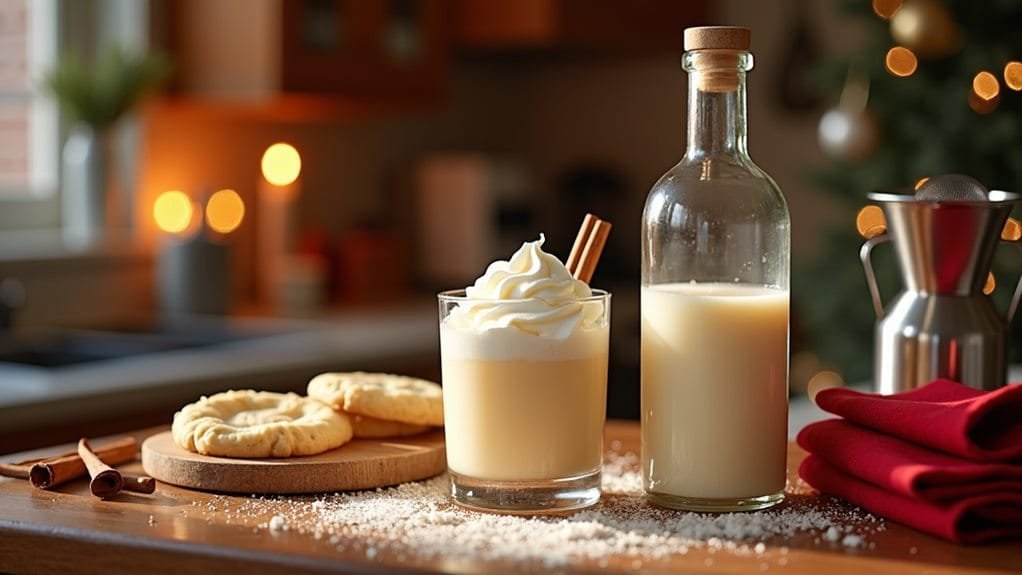
Starting the infusion process, crush your vanilla wafers into fine crumbs and combine them with vodka in your prepared glass jar. You'll want those cookies pulverized into a sandy consistency – think beach vacation for your taste buds! The finer the crumbs, the better they'll release their delicious cookie flavor profiles into the vodka.
Now, here's where the magic happens: seal that jar tight and give it a good shake, like you're dancing with your favorite holiday tune! Place it in a cool, dark spot – your cabinet's cozy corner will do perfectly.
Over the next 48 hours, you'll need to shake the jar occasionally, about 3-4 times per day. Think of it as waking up the flavors and getting them to mingle like guests at a Christmas party!
While traditional vodka works great, you can experiment with vodka variations like vanilla-flavored or even cookie-flavored vodka for an extra punch of sweetness. Just remember, the better quality vodka you use, the smoother your final liqueur will be.
And whatever you do, don't peek too often – those cookie crumbs need their beauty rest to work their festive magic!
Step 3. Heat Cream Mixture Gently
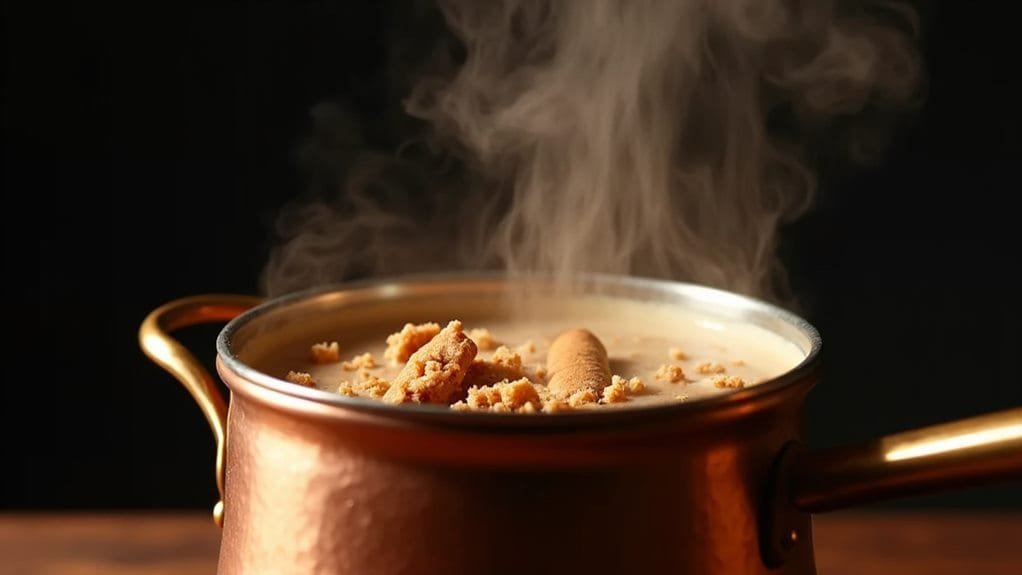
While your cookie-infused vodka works its magic, the cream mixture requires gentle heating to create that signature silky texture. You'll want to master proper cream warming techniques to guarantee your liqueur turns out perfectly smooth, not grainy or curdled.
Pour your heavy cream, whole milk, and sugar into a medium-sized saucepan – think of it as creating a cozy hot tub for your ingredients!
Using medium-low heat, warm the mixture slowly while stirring constantly. Don't let it boil, or you'll end up with a dairy disaster! The milk infusion methods here are essential – you're looking for that sweet spot where the sugar dissolves completely, but the cream doesn't get too hot.
You'll know you're there when the mixture feels warm to the touch and you can't feel any sugar granules when you rub a drop between your fingers.
Once you've achieved that perfect warmth (and before your cream starts doing the hot dance), remove the pan from heat and stir in your vanilla extract, cinnamon, and nutmeg.
These spices will bloom beautifully in the warm mixture, releasing their festive aromatics and making your kitchen smell like Christmas heaven!
Step 4. Strain Cookie-Infused Vodka
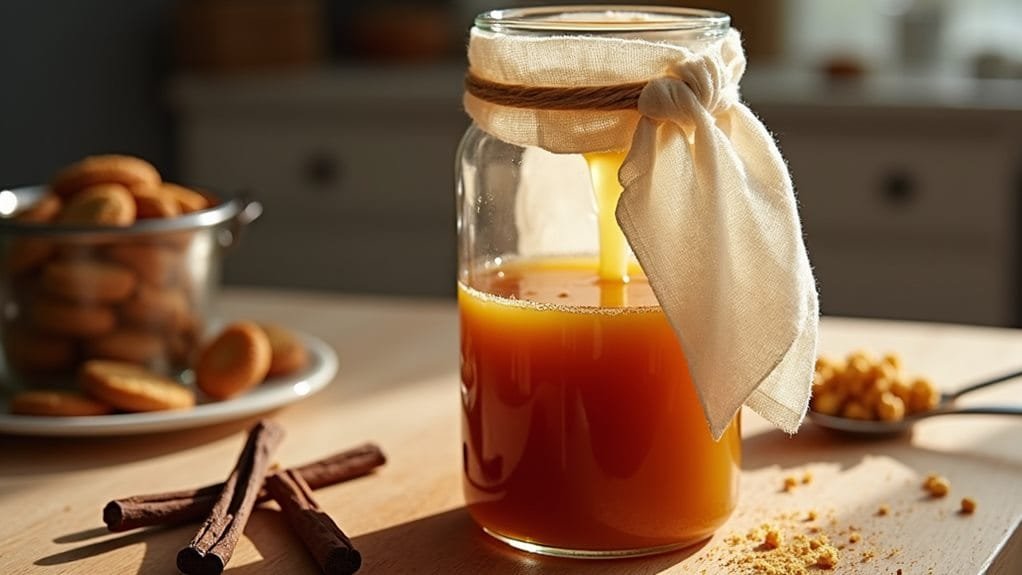
After 48 hours of steeping, your cookie-vodka mixture needs careful straining to achieve that signature smoothness.
Like a treasure hunter panning for gold, you'll want to set up your straining station with precision – a fine-mesh sieve lined with fresh cheesecloth positioned over a clean bowl or measuring cup.
Pour your infused mixture through slowly, letting gravity do the work.
Here's the golden rule that'll make or break your festive cocktails: resist the urge to squeeze or press the cookies! Sure, it's tempting to extract every last drop, but that'll just make your liqueur cloudy, and nobody wants their Christmas Eve Cookie Liqueur looking like murky pond water.
You're aiming for crystal-clear perfection here!
As you strain, you might notice how different liqueur variations can be created by adjusting your straining technique. A single strain yields a richer texture, while double-straining through fresh cheesecloth produces an ultra-smooth result.
Watch as the amber-colored liquid drips through – it's like liquid Christmas magic happening right before your eyes!
Once you've finished straining, your infused vodka is ready for the next exciting step.
Step 5. Combine Liquids and Spices
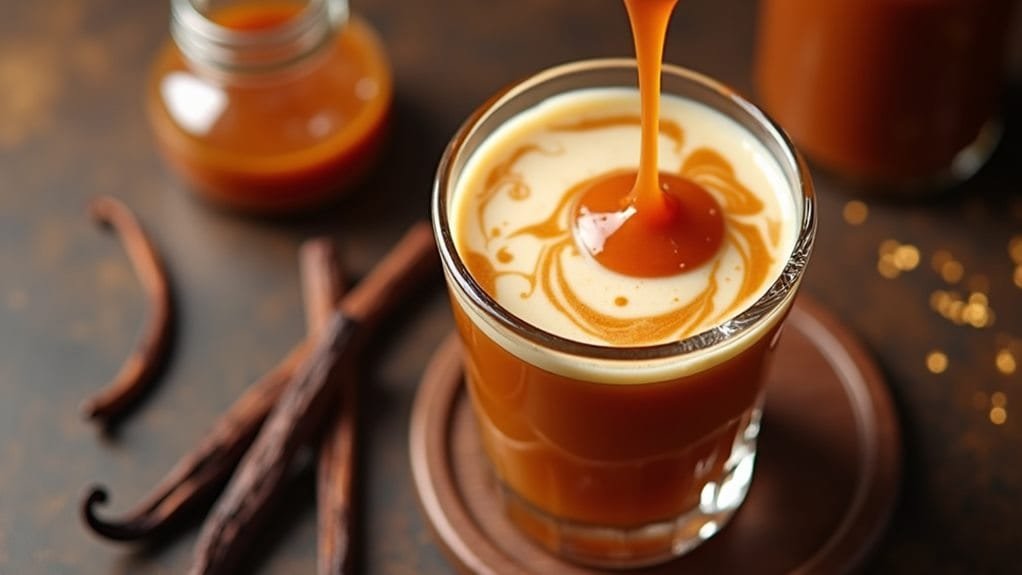
Now that your cookie-infused vodka is perfectly strained, it's time to create the rich, creamy base that'll transform this spirit into a luscious holiday liqueur.
Get ready to work some kitchen magic as you combine simple ingredients into something extraordinary!
Pour your heavy cream, whole milk, and granulated sugar into a saucepan – this trio forms the foundation of your creamy masterpiece.
Warm these ingredients over medium heat, stirring constantly until the sugar completely dissolves.
You'll know you're there when the mixture looks silky-smooth, with no sugar crystals playing hide-and-seek at the bottom of the pan.
Now comes the fun part: achieving that perfect flavor balance!
Remove your pan from the heat and add your spice selection – vanilla extract, ground cinnamon, and a whisper of nutmeg.
These aromatic additions will transport you straight to grandma's cookie-filled kitchen!
Give everything a good stir, letting those holiday spices dance together in their warm cream bath.
Here's the hardest part – you'll need to exercise patience and let this mixture cool completely before combining it with your cookie-infused vodka.
Trust me, it's worth the wait!
Step 6. Store And Age Properly
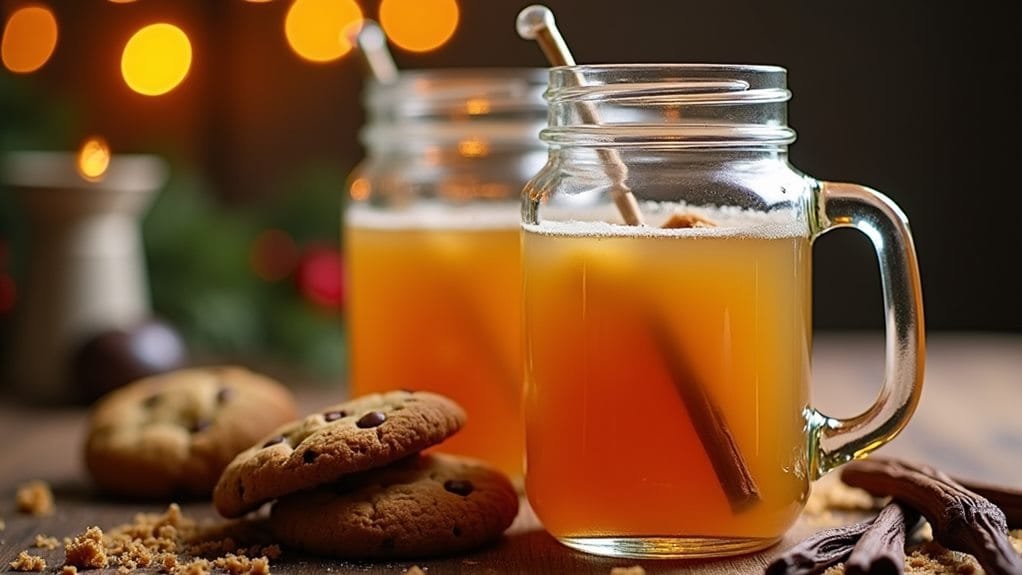
Perfecting your Christmas Eve Cookie Liqueur requires proper storage and aging techniques. Think of it as tucking your liquid masterpiece into bed for a cozy winter's nap – it needs the right conditions to transform into something truly magical!
Your storage tips begin with selecting the perfect container: use clean, airtight glass bottles that'll keep your creation fresh and fabulous. Pop those bottles straight into the refrigerator, where they'll happily chill for up to two months.
Don't worry if you notice any separation – that's totally normal! Just give the bottle a gentle shake before serving, like you're waking it up from its holiday slumber.
The aging process is where the real Christmas magic happens! While you could technically sip your liqueur right after the 24-hour cooling period, you'll want to resist that temptation.
Let it mature for at least one week – two weeks if you're aiming for flavor perfection. During this time, those cookie-licious notes will dance with the cream and spices, creating a symphony of holiday flavors that'll make your taste buds sing with joy!
Wrapping Up
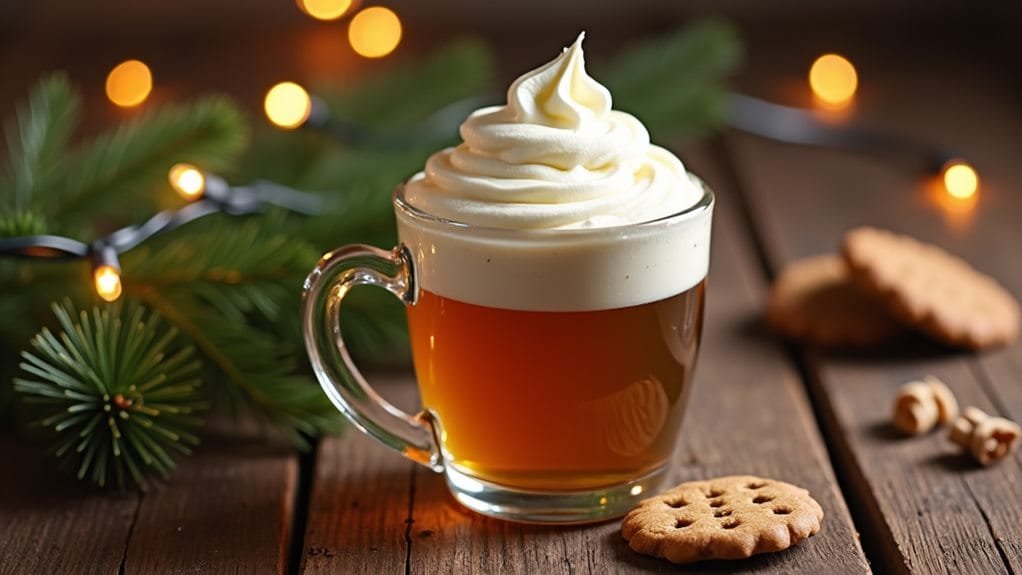
Throughout your Christmas Eve Cookie Liqueur journey, you'll discover a delightful blend that captures the magic of holiday cookies in every sip.
This creamy concoction isn't just another festive drink – it's a conversation starter that'll have your guests begging for the recipe and reminiscing about their favorite holiday traditions.
You've now mastered the art of creating this luxurious libation, transforming simple vanilla wafers into liquid gold that would make Santa himself do a double-take.
Your patience through the steeping and aging process will reward you with a velvety smooth liqueur that's worth every minute of waiting.
Whether you're serving it neat, on the rocks, or sneaking a splash into your evening cocoa, you've created something truly special.

